Ttalk.info
Ttalk Tech
TD Bonnet Prop by LaVerne
Under construction
Nearing completion of the TD restoration I realized that something was going to be needed to
hold the bonnet open for maintenance and the odd car show or two. Rather hard to believe that
they didn’t come from the factory with some props. I knew Bud had some examples on his “T”
talk web site and looked them over. While they all have their merits, none really filled the bill for
what I was after. Having made up a couple for the TF a few years back using John Progress’
design I decided I’d see if I could come up with something similar. The goal was to use a rod
that can swivel into position, hold the bonnet fully open and be put away without using the tool
box or some other storage place. So with that idea in mind I headed to NAPA and found a ball
joint (looks like a mini tie rod end) that I thought would do the job and it went from there.
Originally I welded a bracket on the rod and only used one ball joint per side however in the
interest of making a design that the non welders can build I went with two ball joints per side.
Here is the list of materials you need to make these yourself. Prices will obviously vary at your
location.
From NAPA
4 ball joints part number 2-686 Cost $6.86 each
pick up 4 nuts for the studs while your there as these don’t come with any 1/4" x 28 NF
From True Value Hardware
2 1/4" x 36" steel rod Cost $ 2.19 each
if you can find a 1/4" x 48" rod you need just one
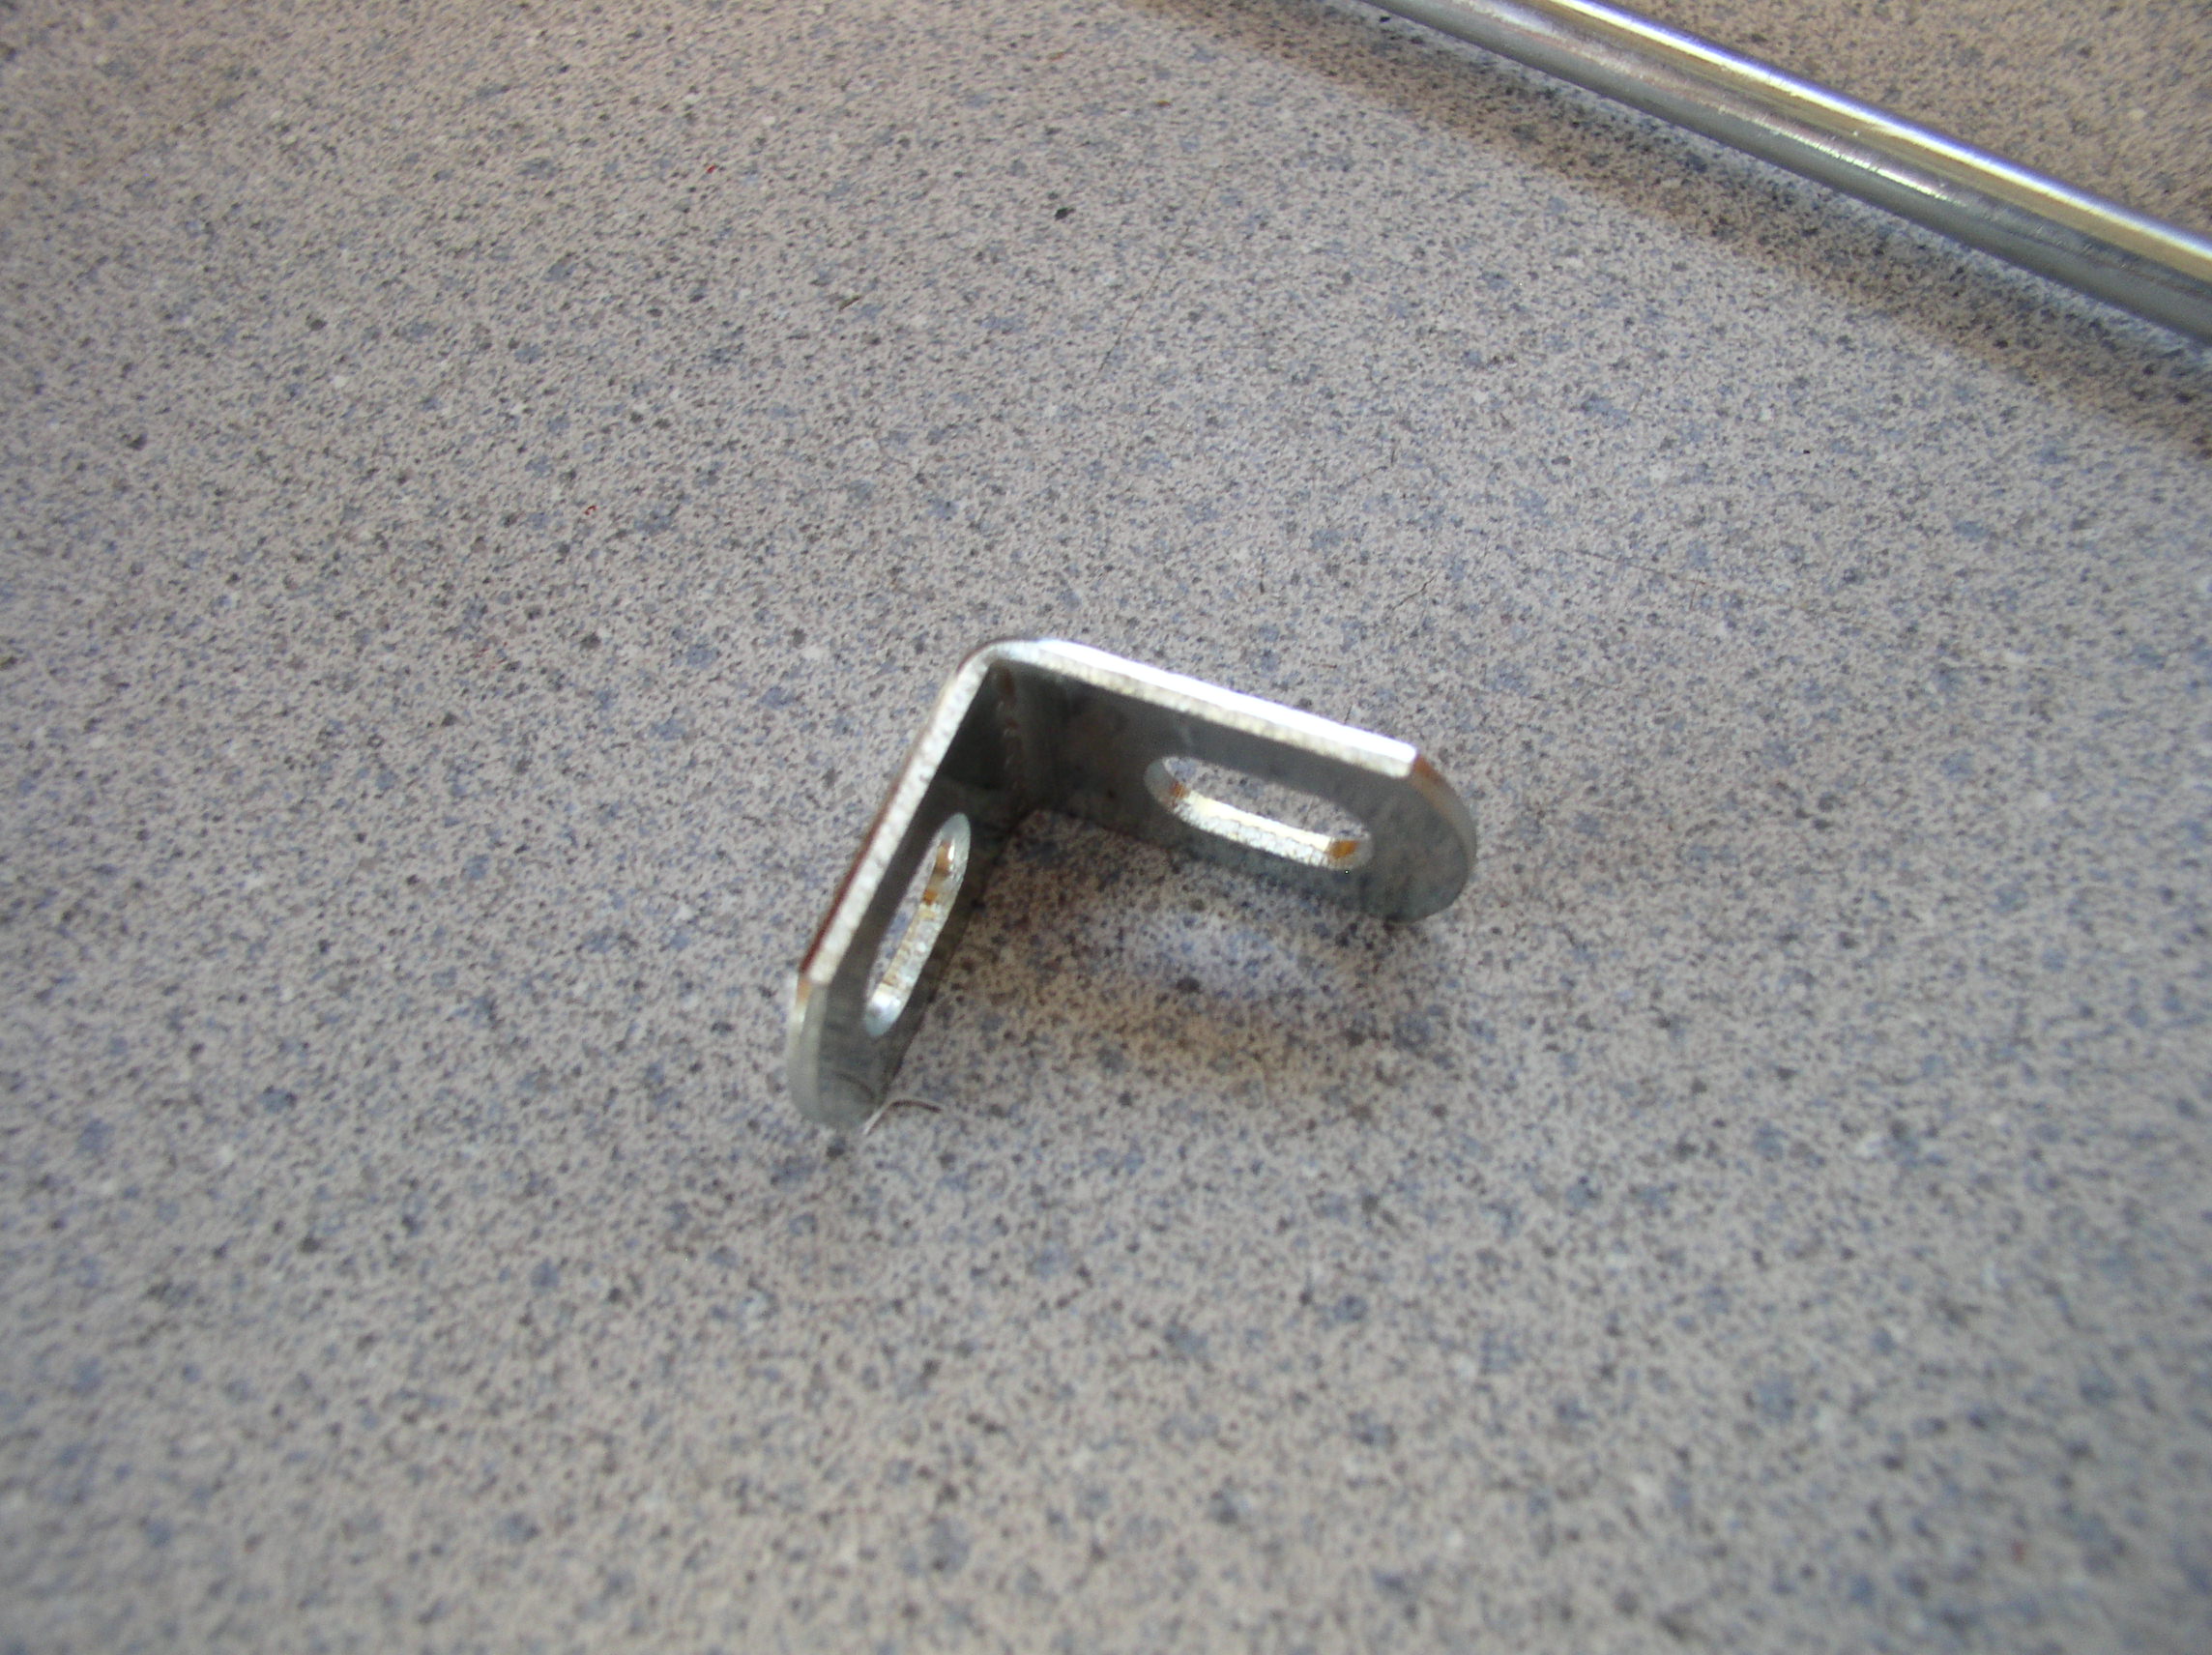
2 3" x 3/4" corner brackets Cost $ .59 each
I found these preferable to the smaller brackets which would not require any cutting
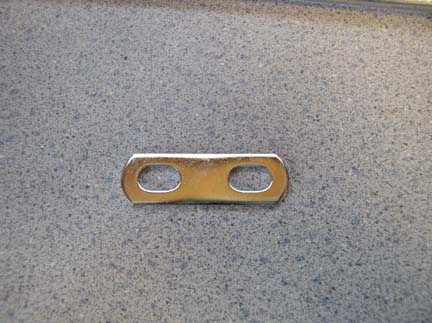
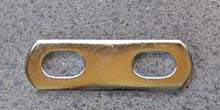
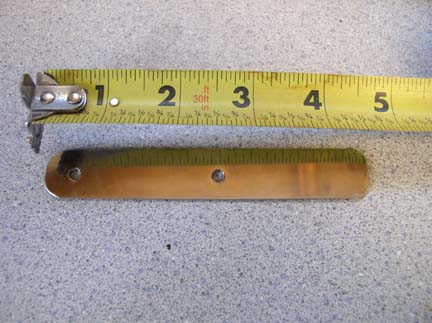
1 3/4" x 12" stainless steel strip Cost $ .99 each
2 1/4" x 1" bolts and nuts Cost ?? I already had some
2 small machine screws and nuts Again out of the junk bin
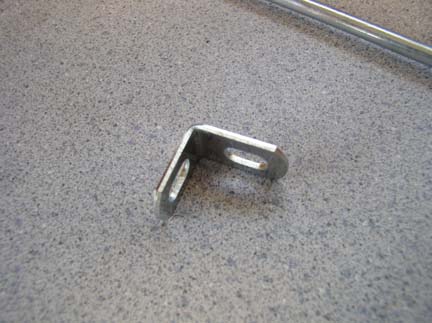
2 U bolts with plates 1/4" x 3/4" x 1 ½" Cost $ .69 each
we don’t need the bolts, just the plates, some stores seel the plates individually
As an alternative to the steel rod you can substitute a piece of 1/4" allthread if you don’t have a
1/4" x 28 NFS die.
Instructions:
Check your radiator mounting points before proceeding. If they are weak or missing any bolts
you will need to correct that as you will be placing it under considerable stress with these props
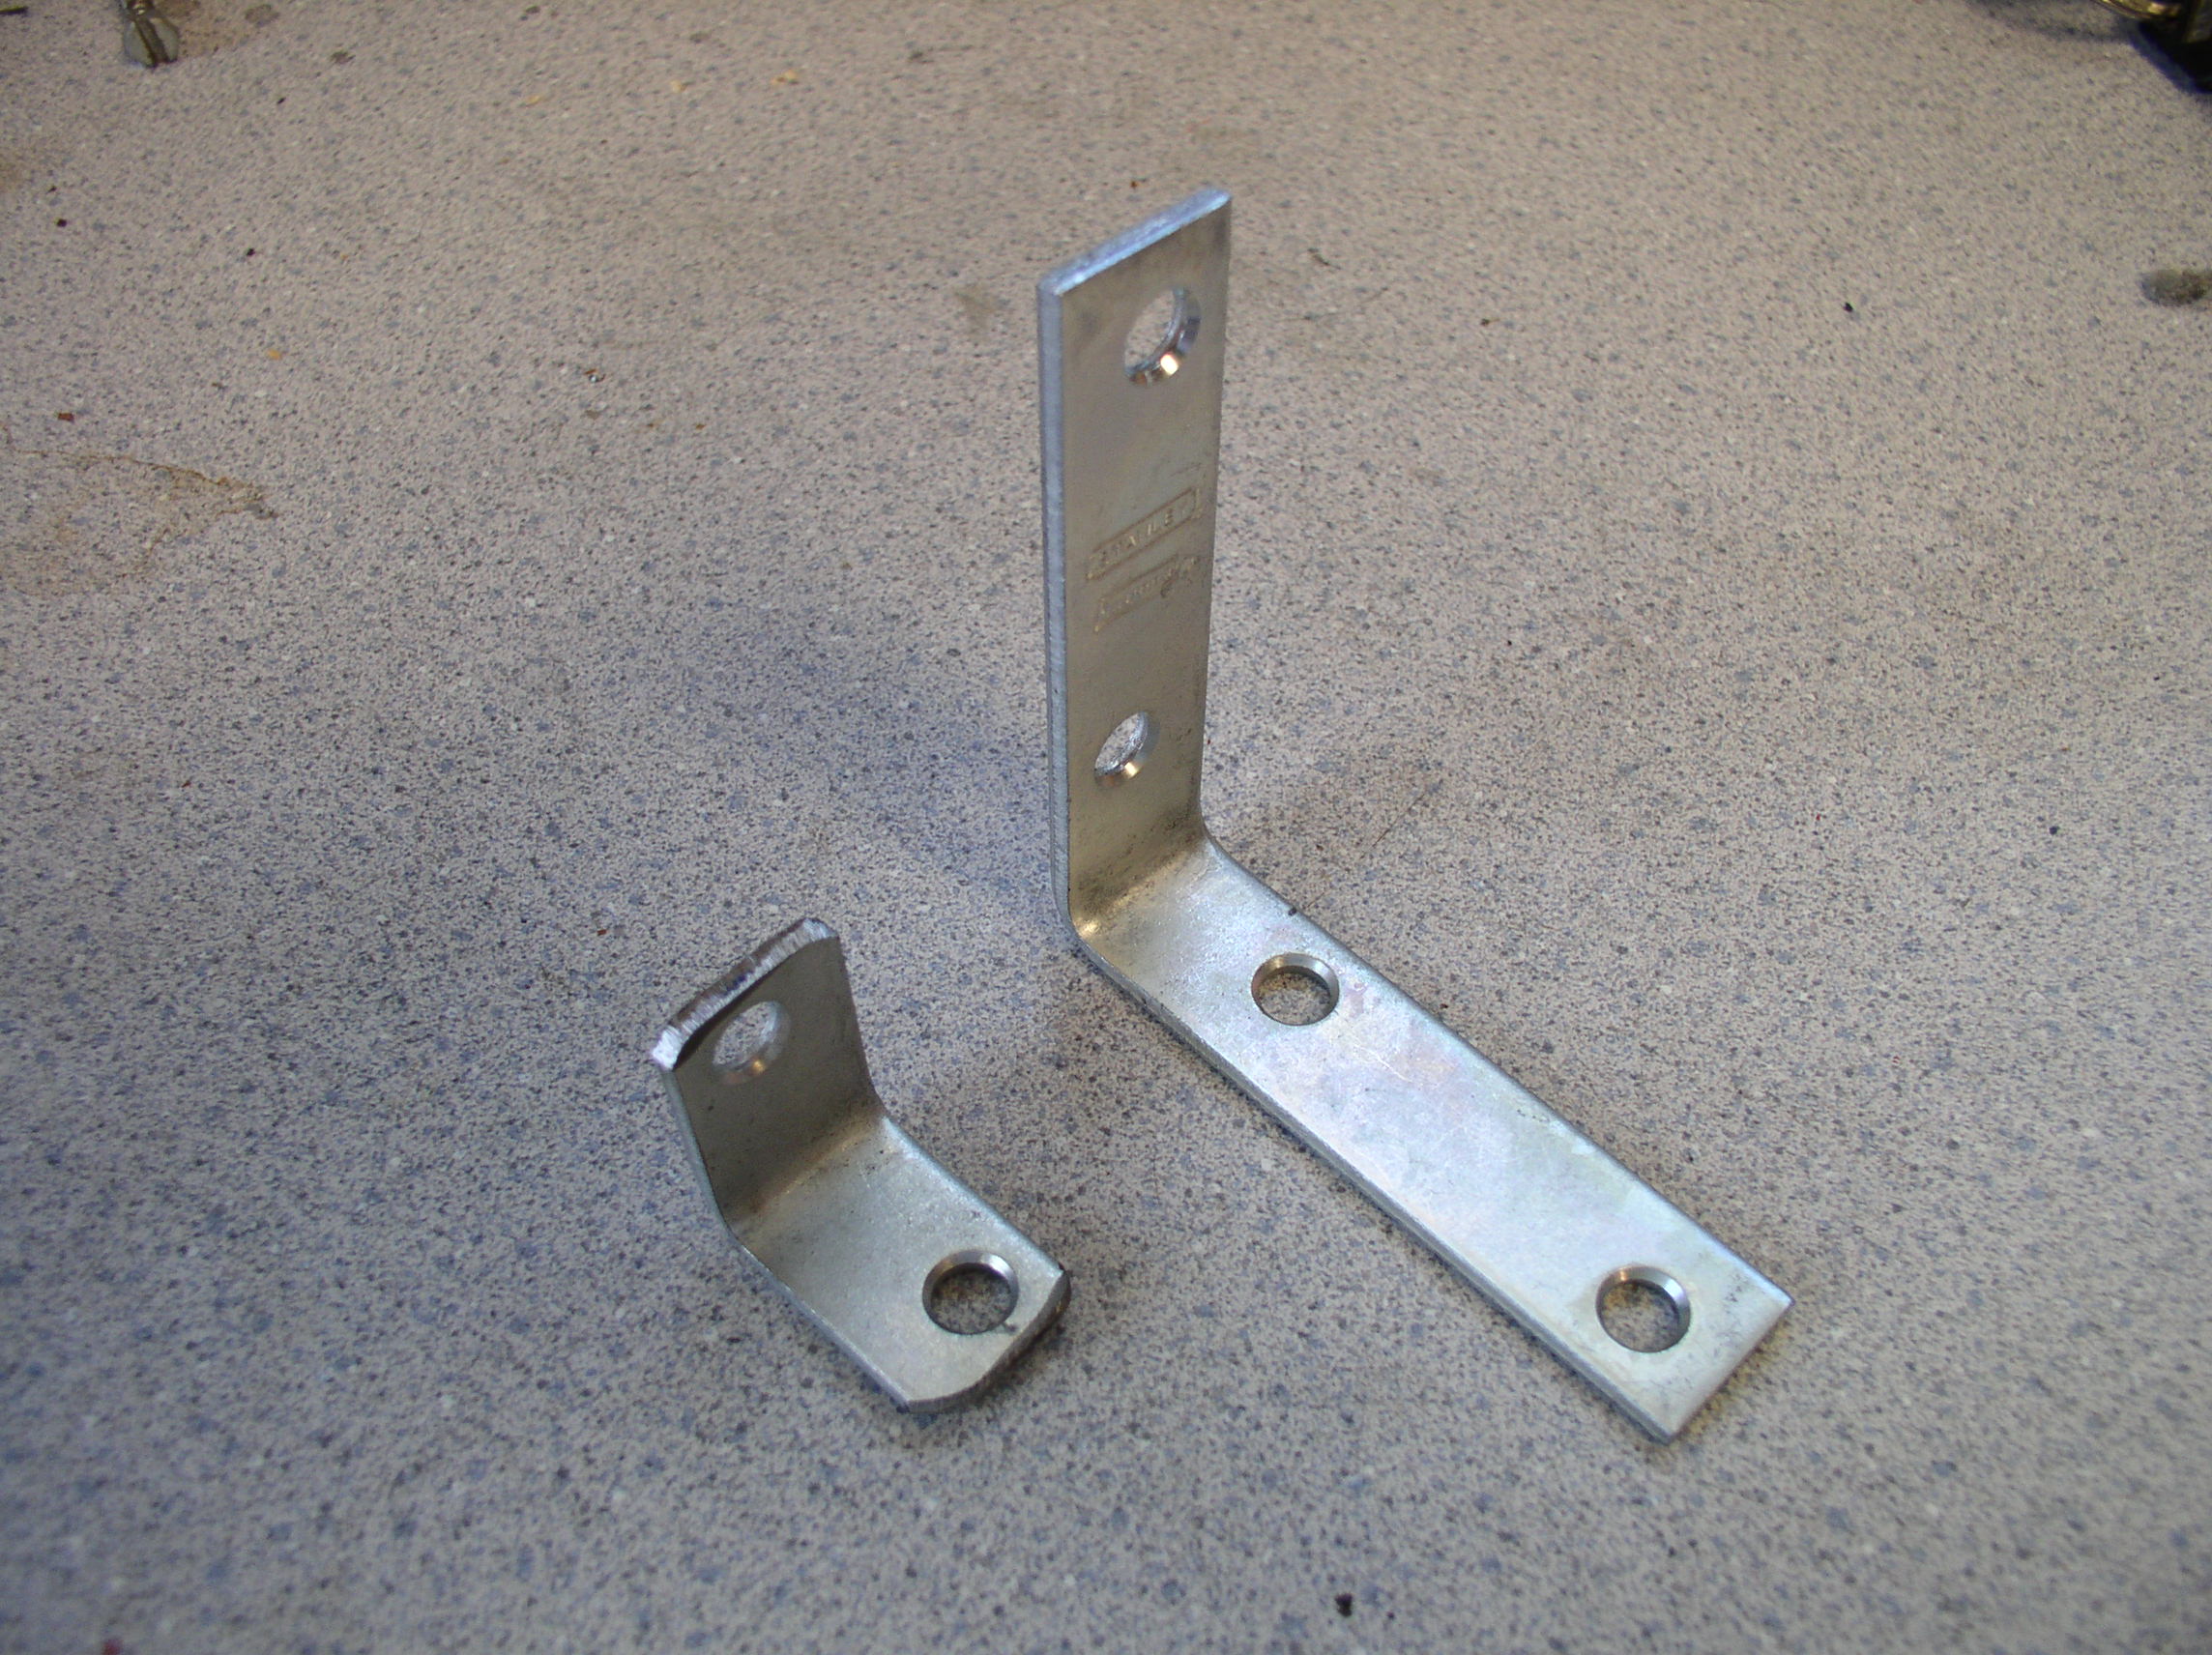
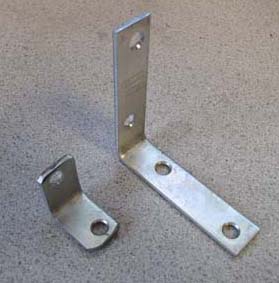
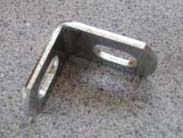
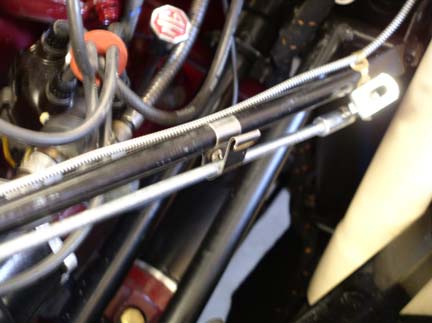
Cut the corner brackets as shown in the photo leaving just the two inner punched holes. Clean up
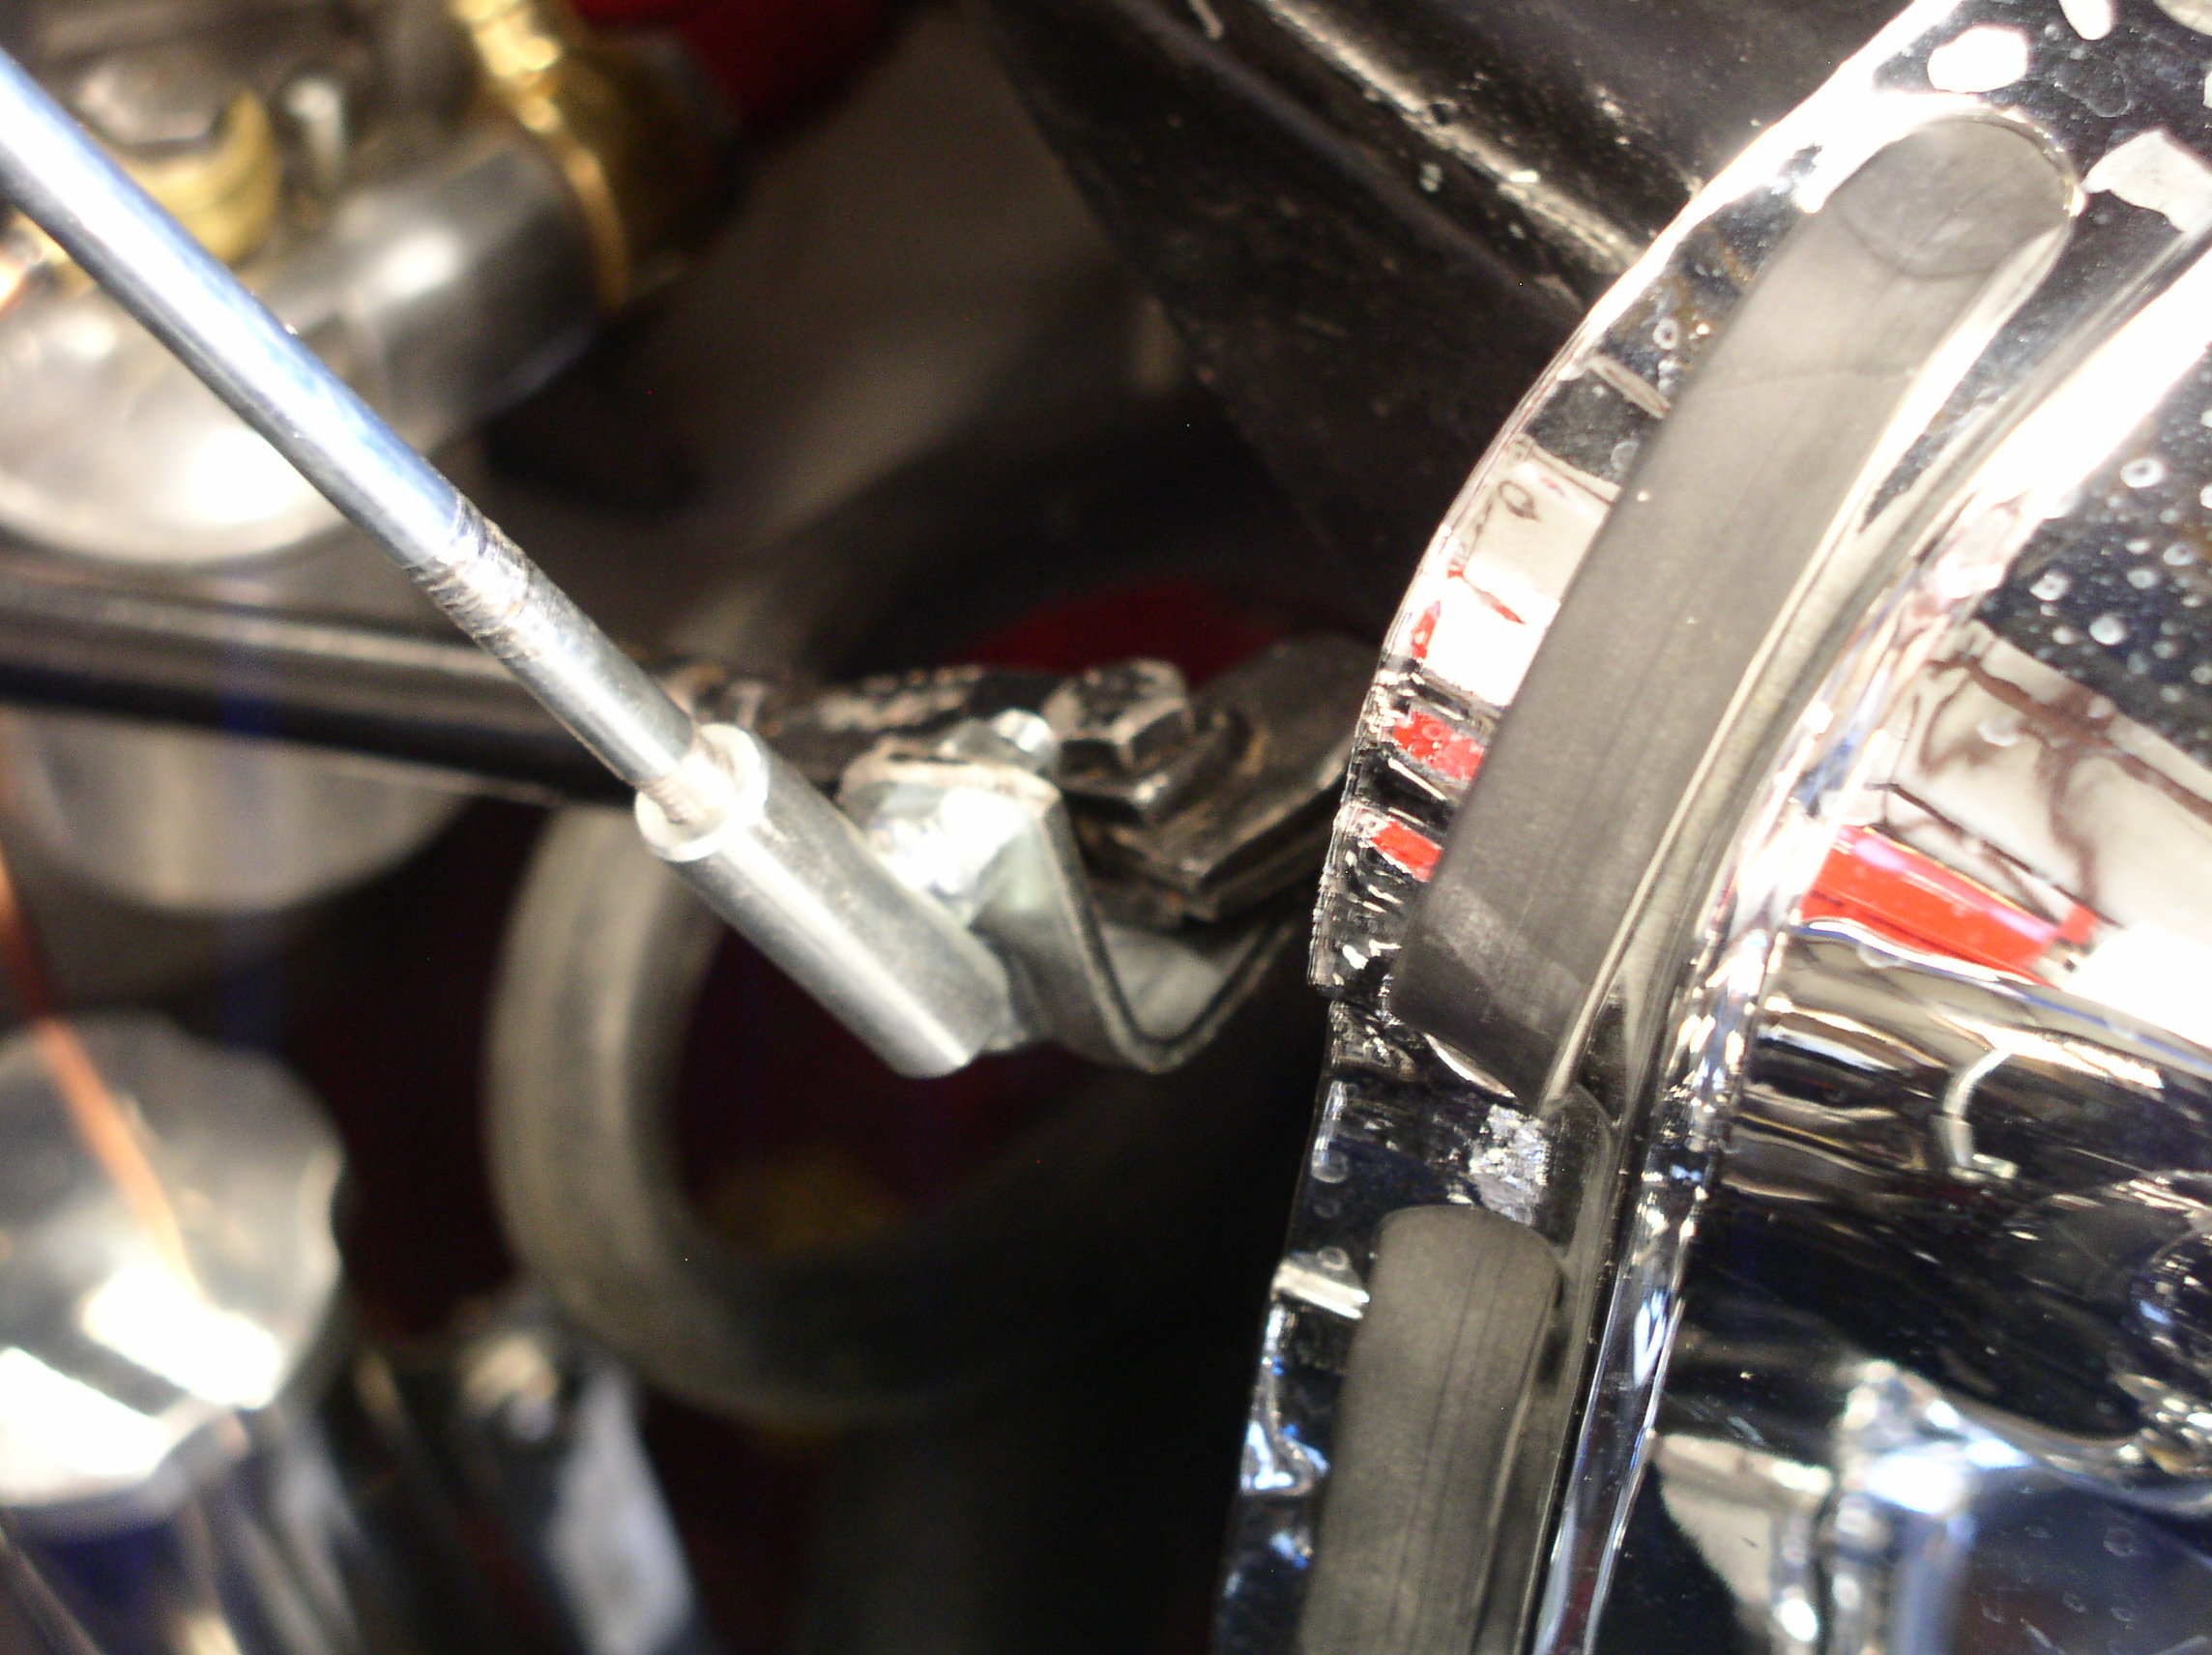
the edges so there are no sharp spots. Remove the bolt on the upper radiator stay bar and replace
it with the 1/4" x 1" bolt. Place the corner bracket on the underside of the stay bar as shown and
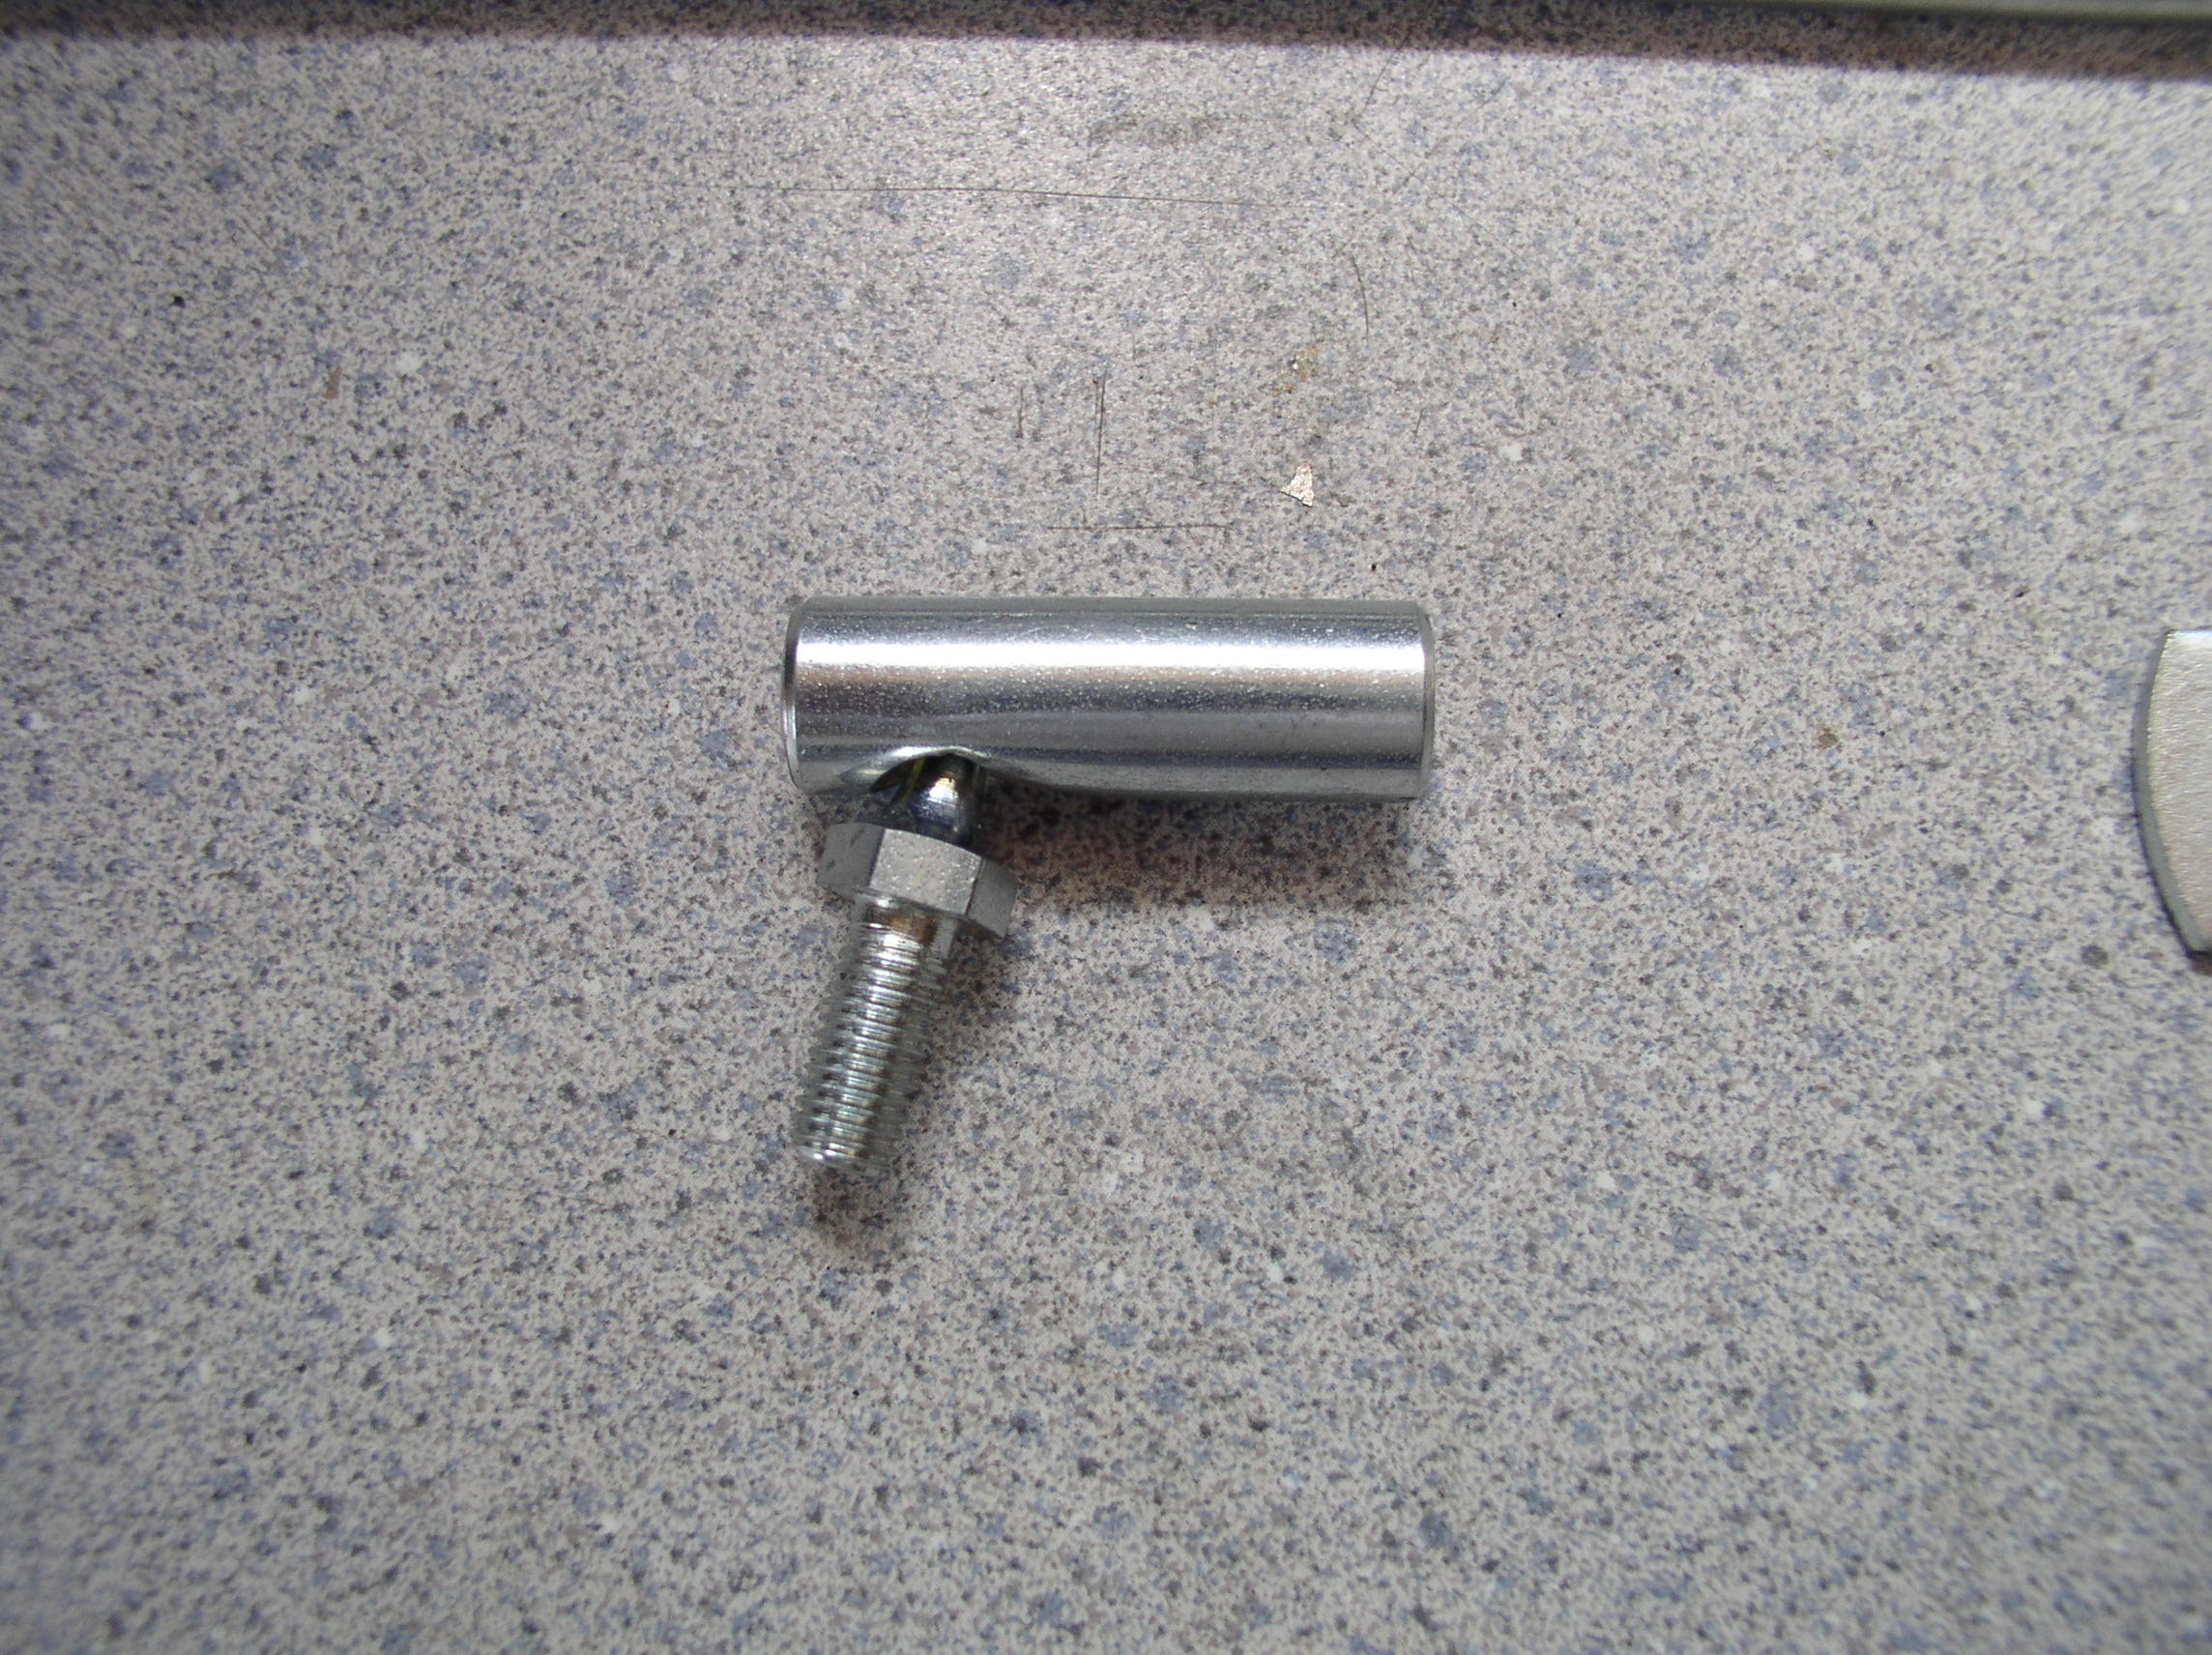
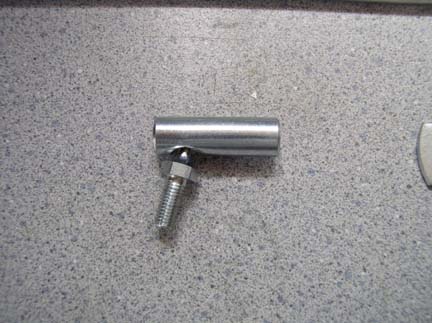
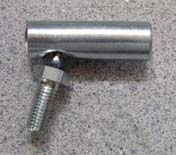
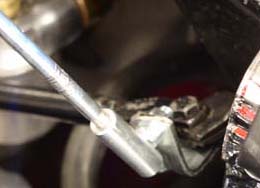
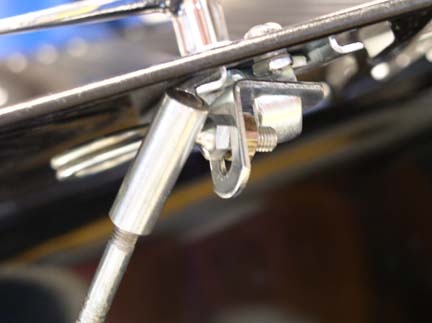
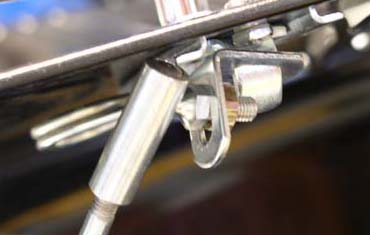
tighten with the new nut. Attach one of the ball joints to the corner bracket. At this point look
down the side of the grille and determine if the bonnet will clear the ball joint when it is closed. I
fount that it did not on the right hand side so I had to drill a new hole in the corner bracket to
move it more in board. Cut two pieces of the 1/4" rod at 19". Thread approximately 1" of
each end of both rods. Screw one end of the rod into the ball joint on the radiator. Take the two U
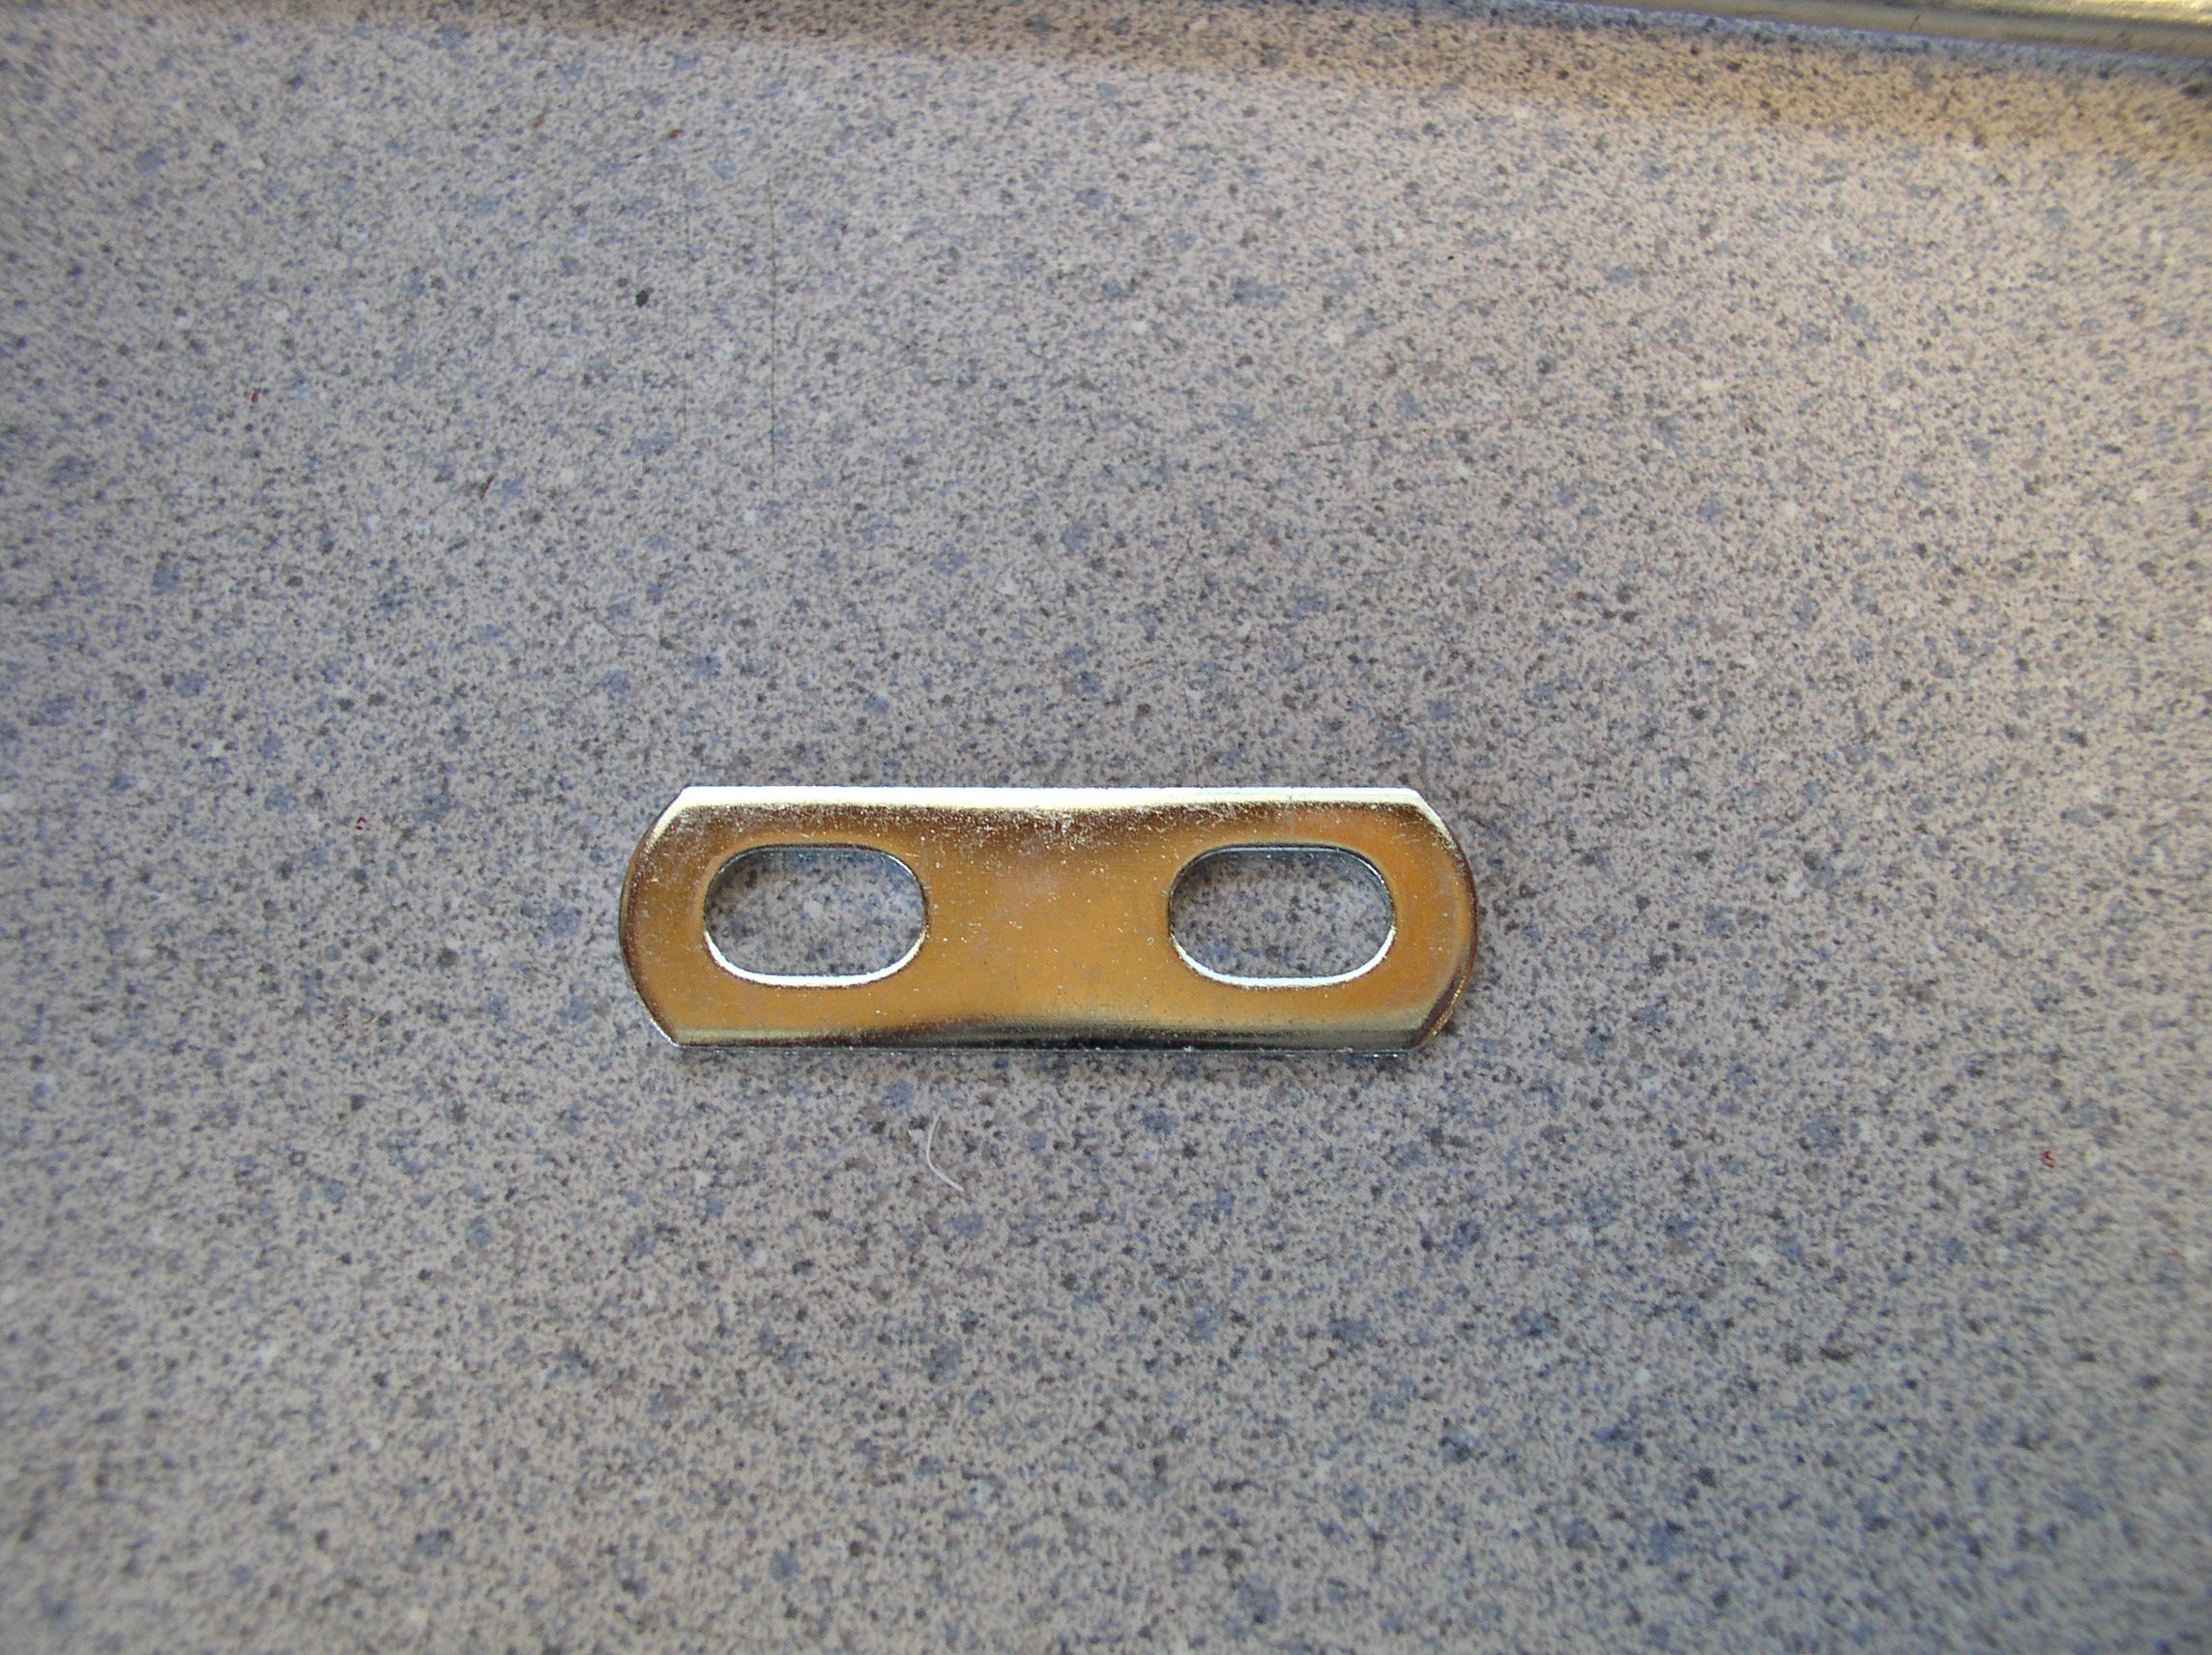
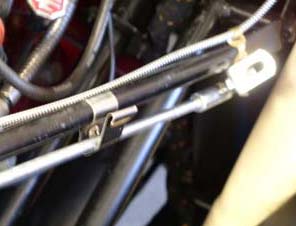
bolt brackets and bend them at 90 degrees in the center. I used a hammer and a vice. Attach a ball
joint to the U bolt bracket as shown in the photos and slide it towards the corner of the bracket
and tighten into position. Screw the ball joint onto the 1/4" rod until you get the bracket in the
position as shown. NOTE: you can screw the rods in far enough to put some bind on the ball
joint. I find this somewhat desirable but don’t go so far as to lock it in a fixed position. You are
now ready to test the use of your prop. You will have to manipulate the upper bracket onto the
bonnet latch and with a slight twist and raising of the bonnet to remove. I would suggest you
decide at this point if you like the prop before making the prop resting catch. The bonnet prop
will allow the bonnet to fold on over to the opposite side , so caution should be used if in windy
conditions. I’ll be giving that problem some thought as to how best resolve that issue.
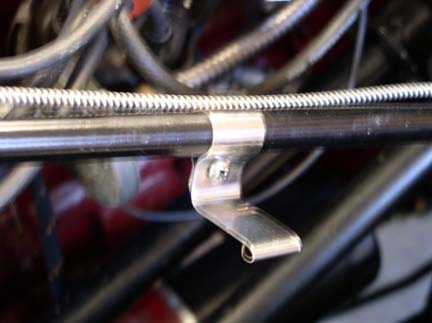
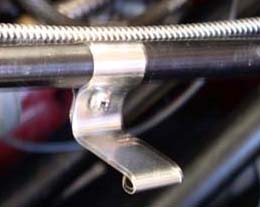
If you find that you like the function of the props and want to leave them on the car then cut
the stainless steel strip into two 4 ½" pieces. Round the edges of the strip and drill two holes for
the machine screws. One at ½" from the edge and the next at 1 ½". Roll the strip around a 5/8"
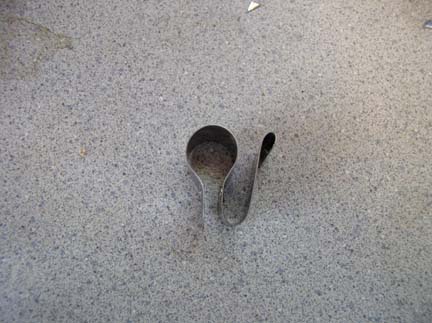
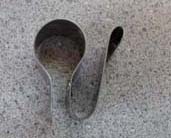
rod until you can get the holes lined up with each other. Place your screw in the holes and tighten
it down fully with the nut. This step will be much easier done off the car but can also be done on
it. I happened to have a hitch pin on the bench which worked perfectly. Remove the screw and
open the loop enough to place on the radiator stay bar. Position it about midway. Tighten the
screw down until it allows the strip to move with some resistance. Finish folding the strip as
shown in the photo. You can now drop the bonnet prop into the slot (roll the strip to fit) close
the bonnet and you're ready to go.
|
|
|
|
|
|
|
|
|
|
|
|
|
|
|
|
|
|
|
|
|
|
|
|
|
|
|
|
|
|


email to:Bud@Ttalk.info