Ttalk.info
Images are in thumbnail form, click to expand.
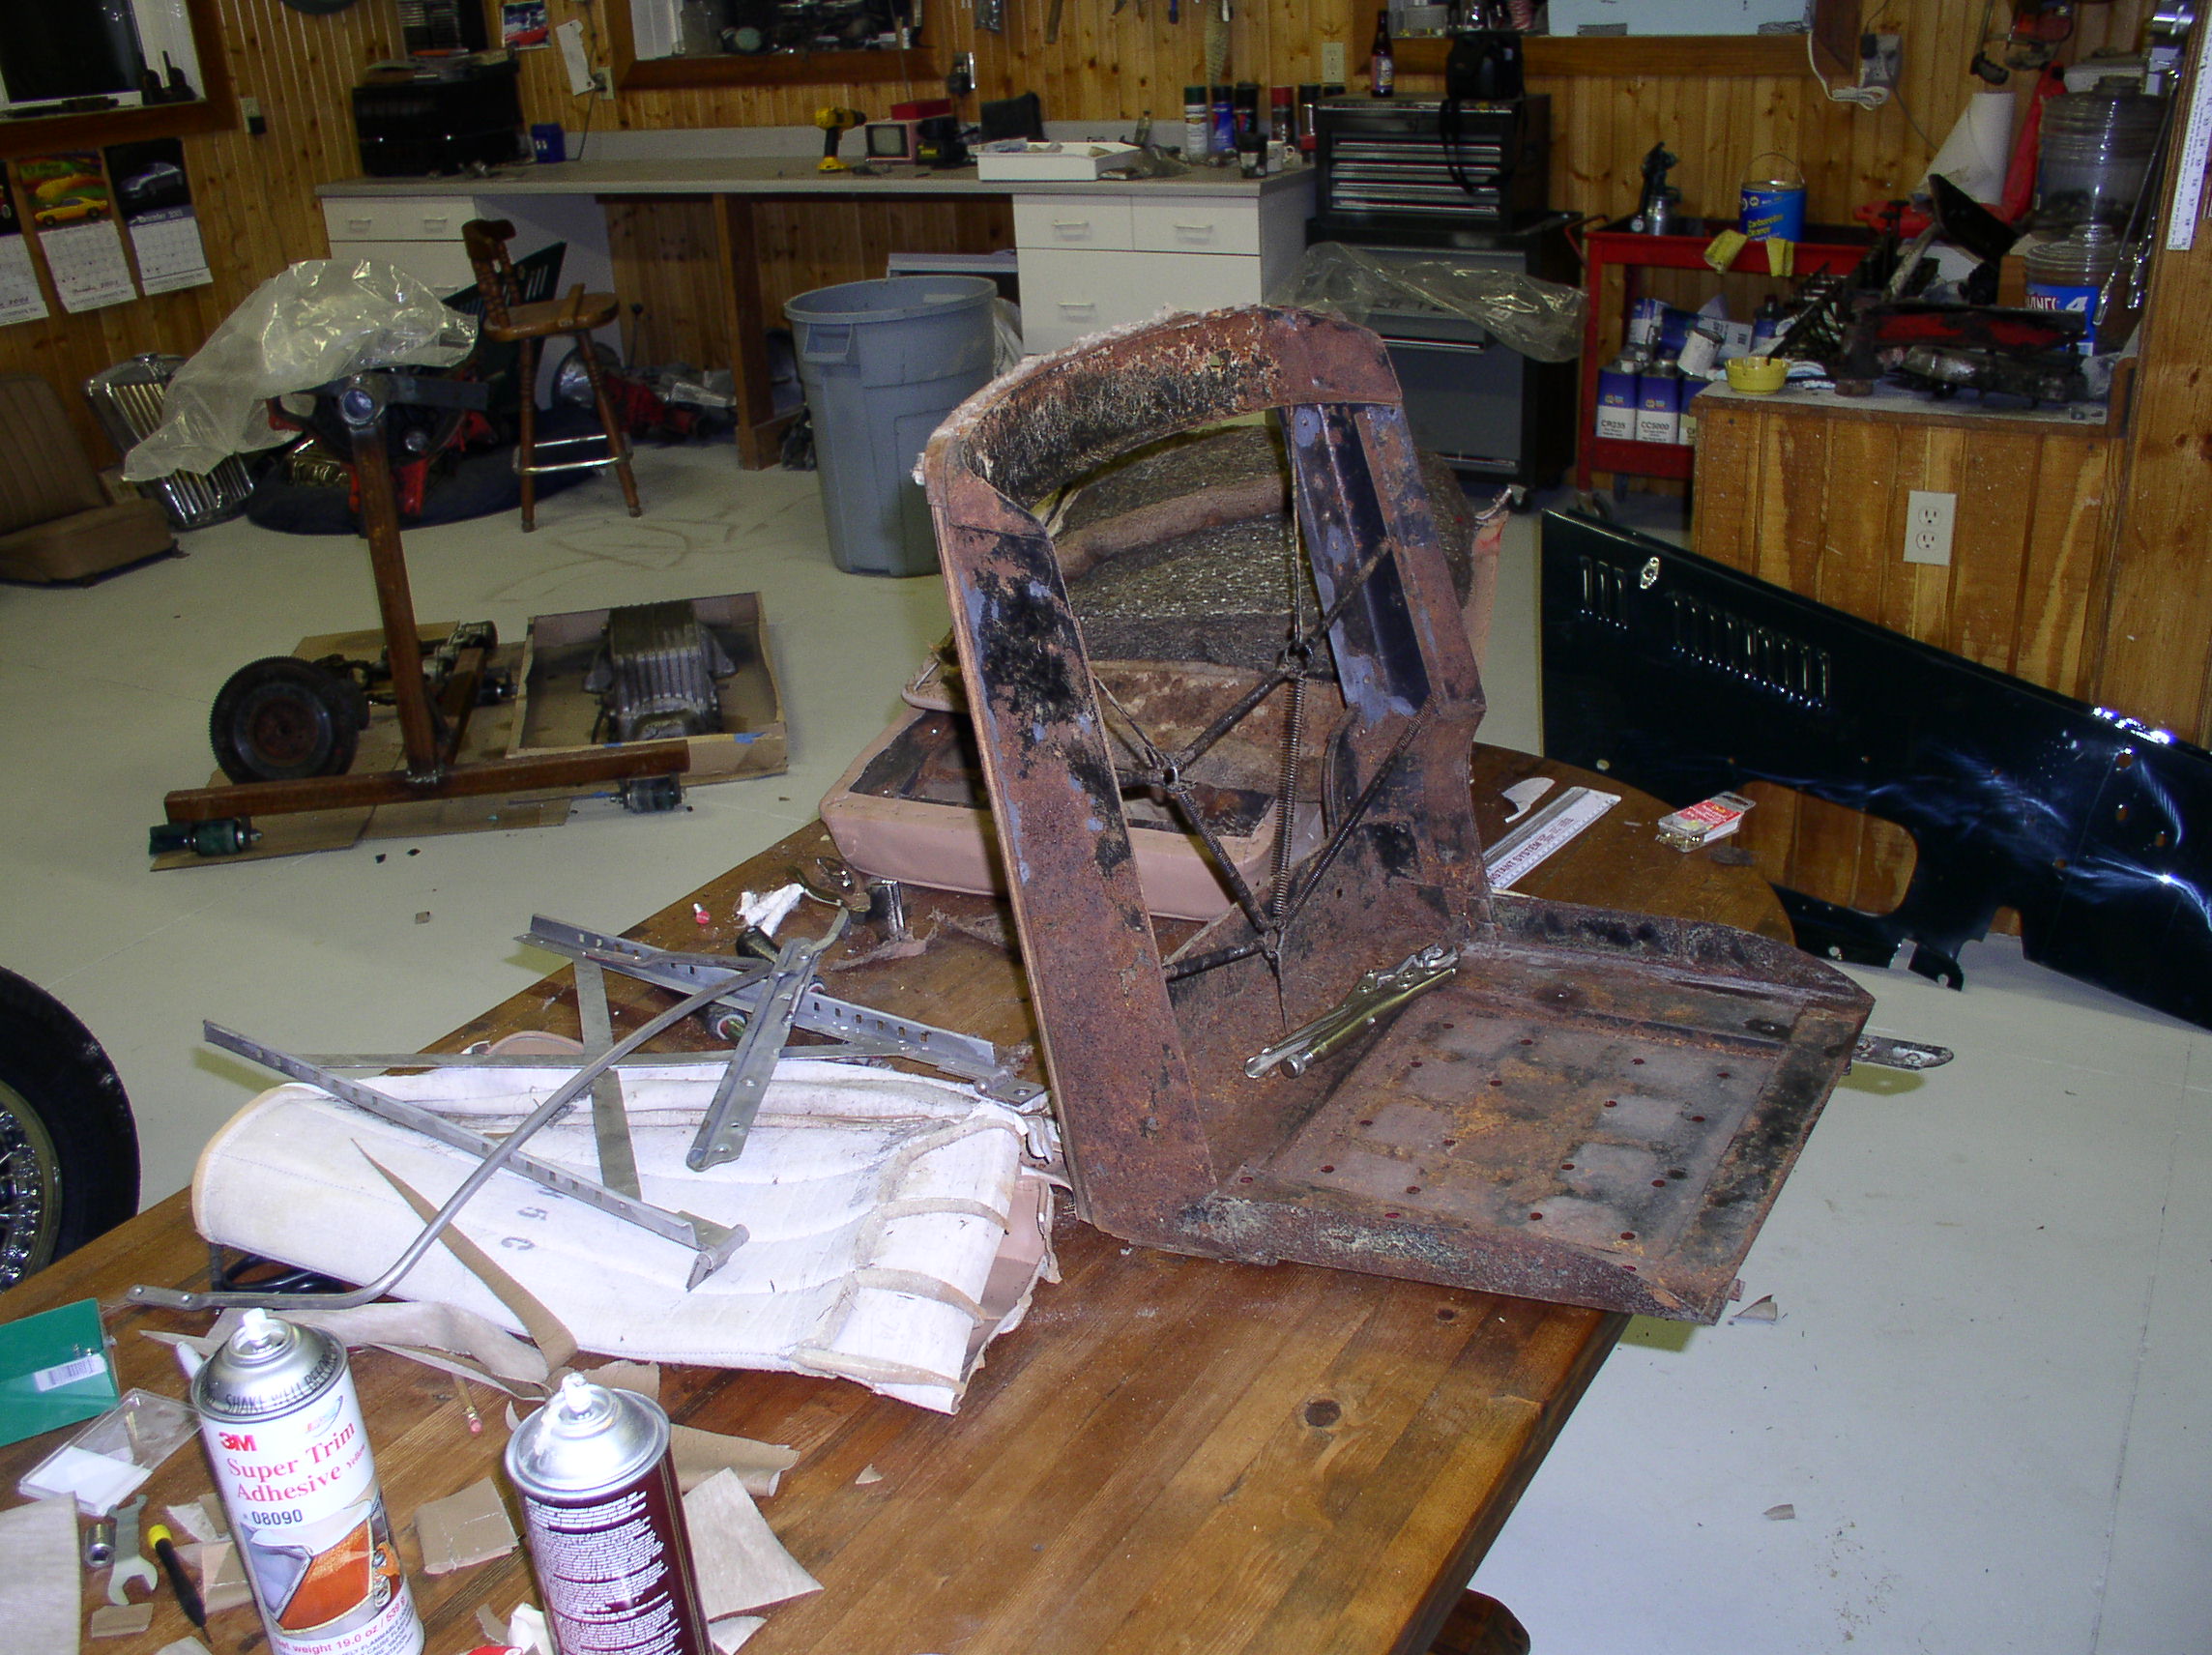
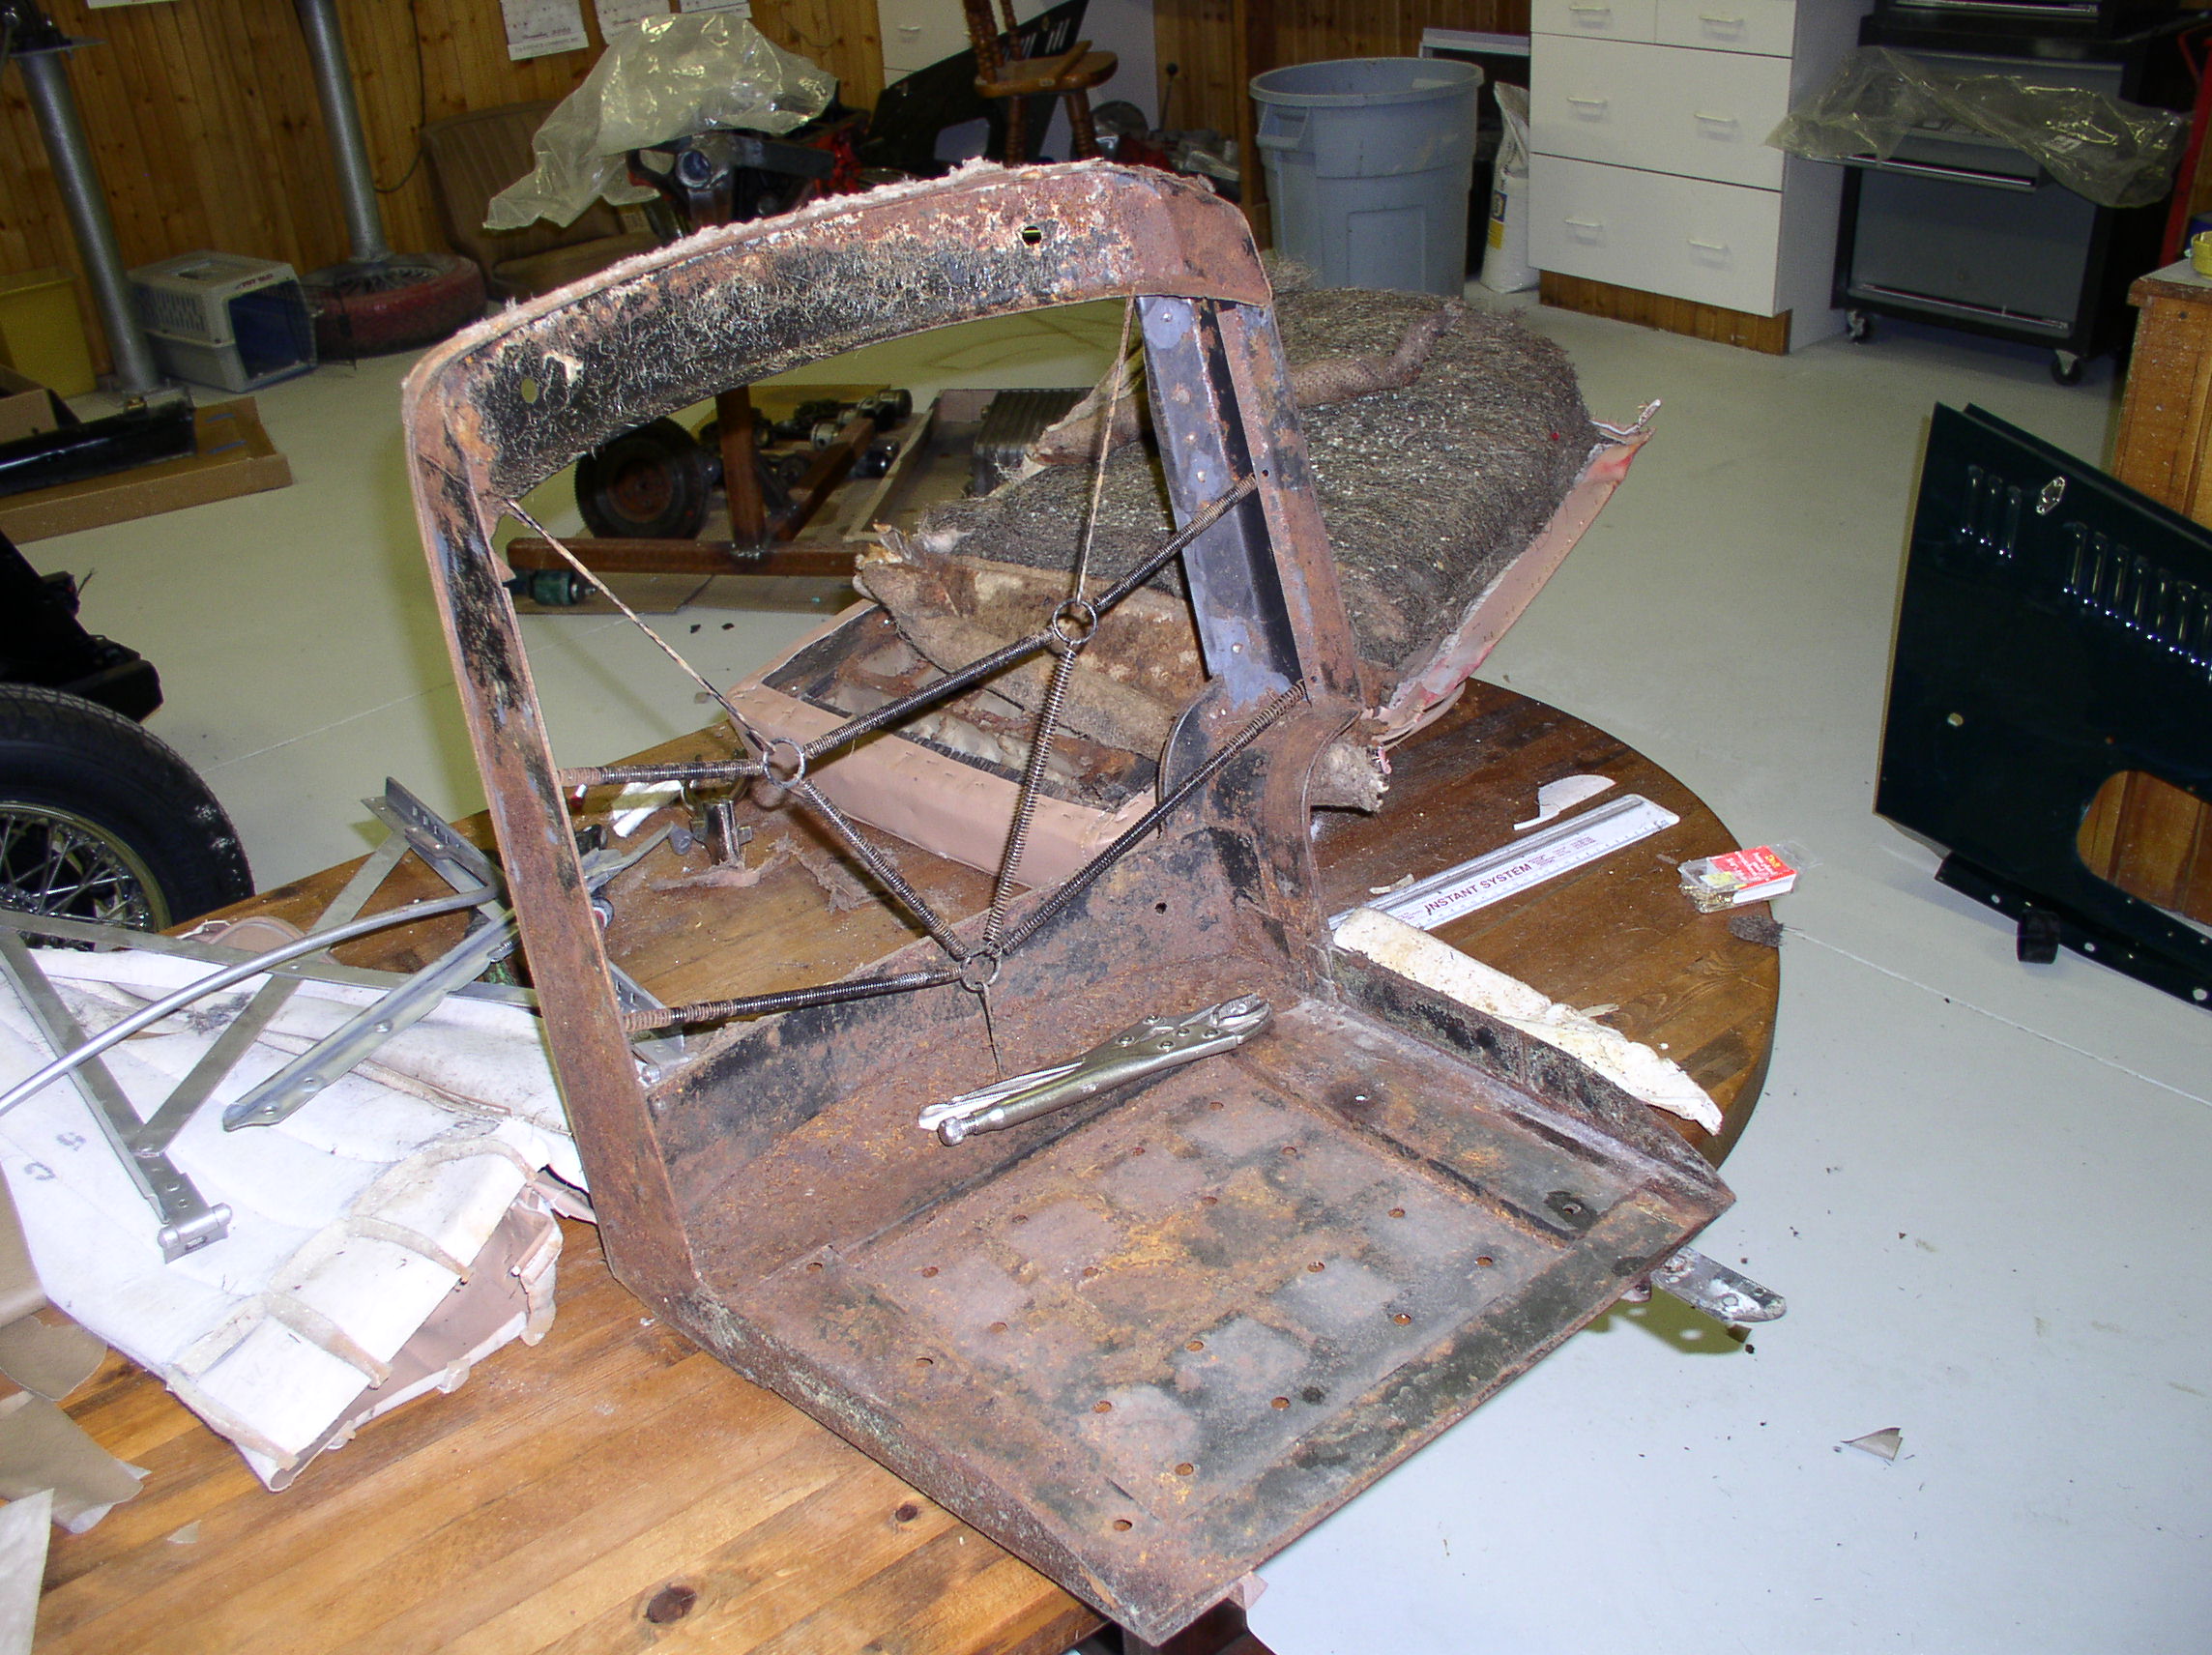
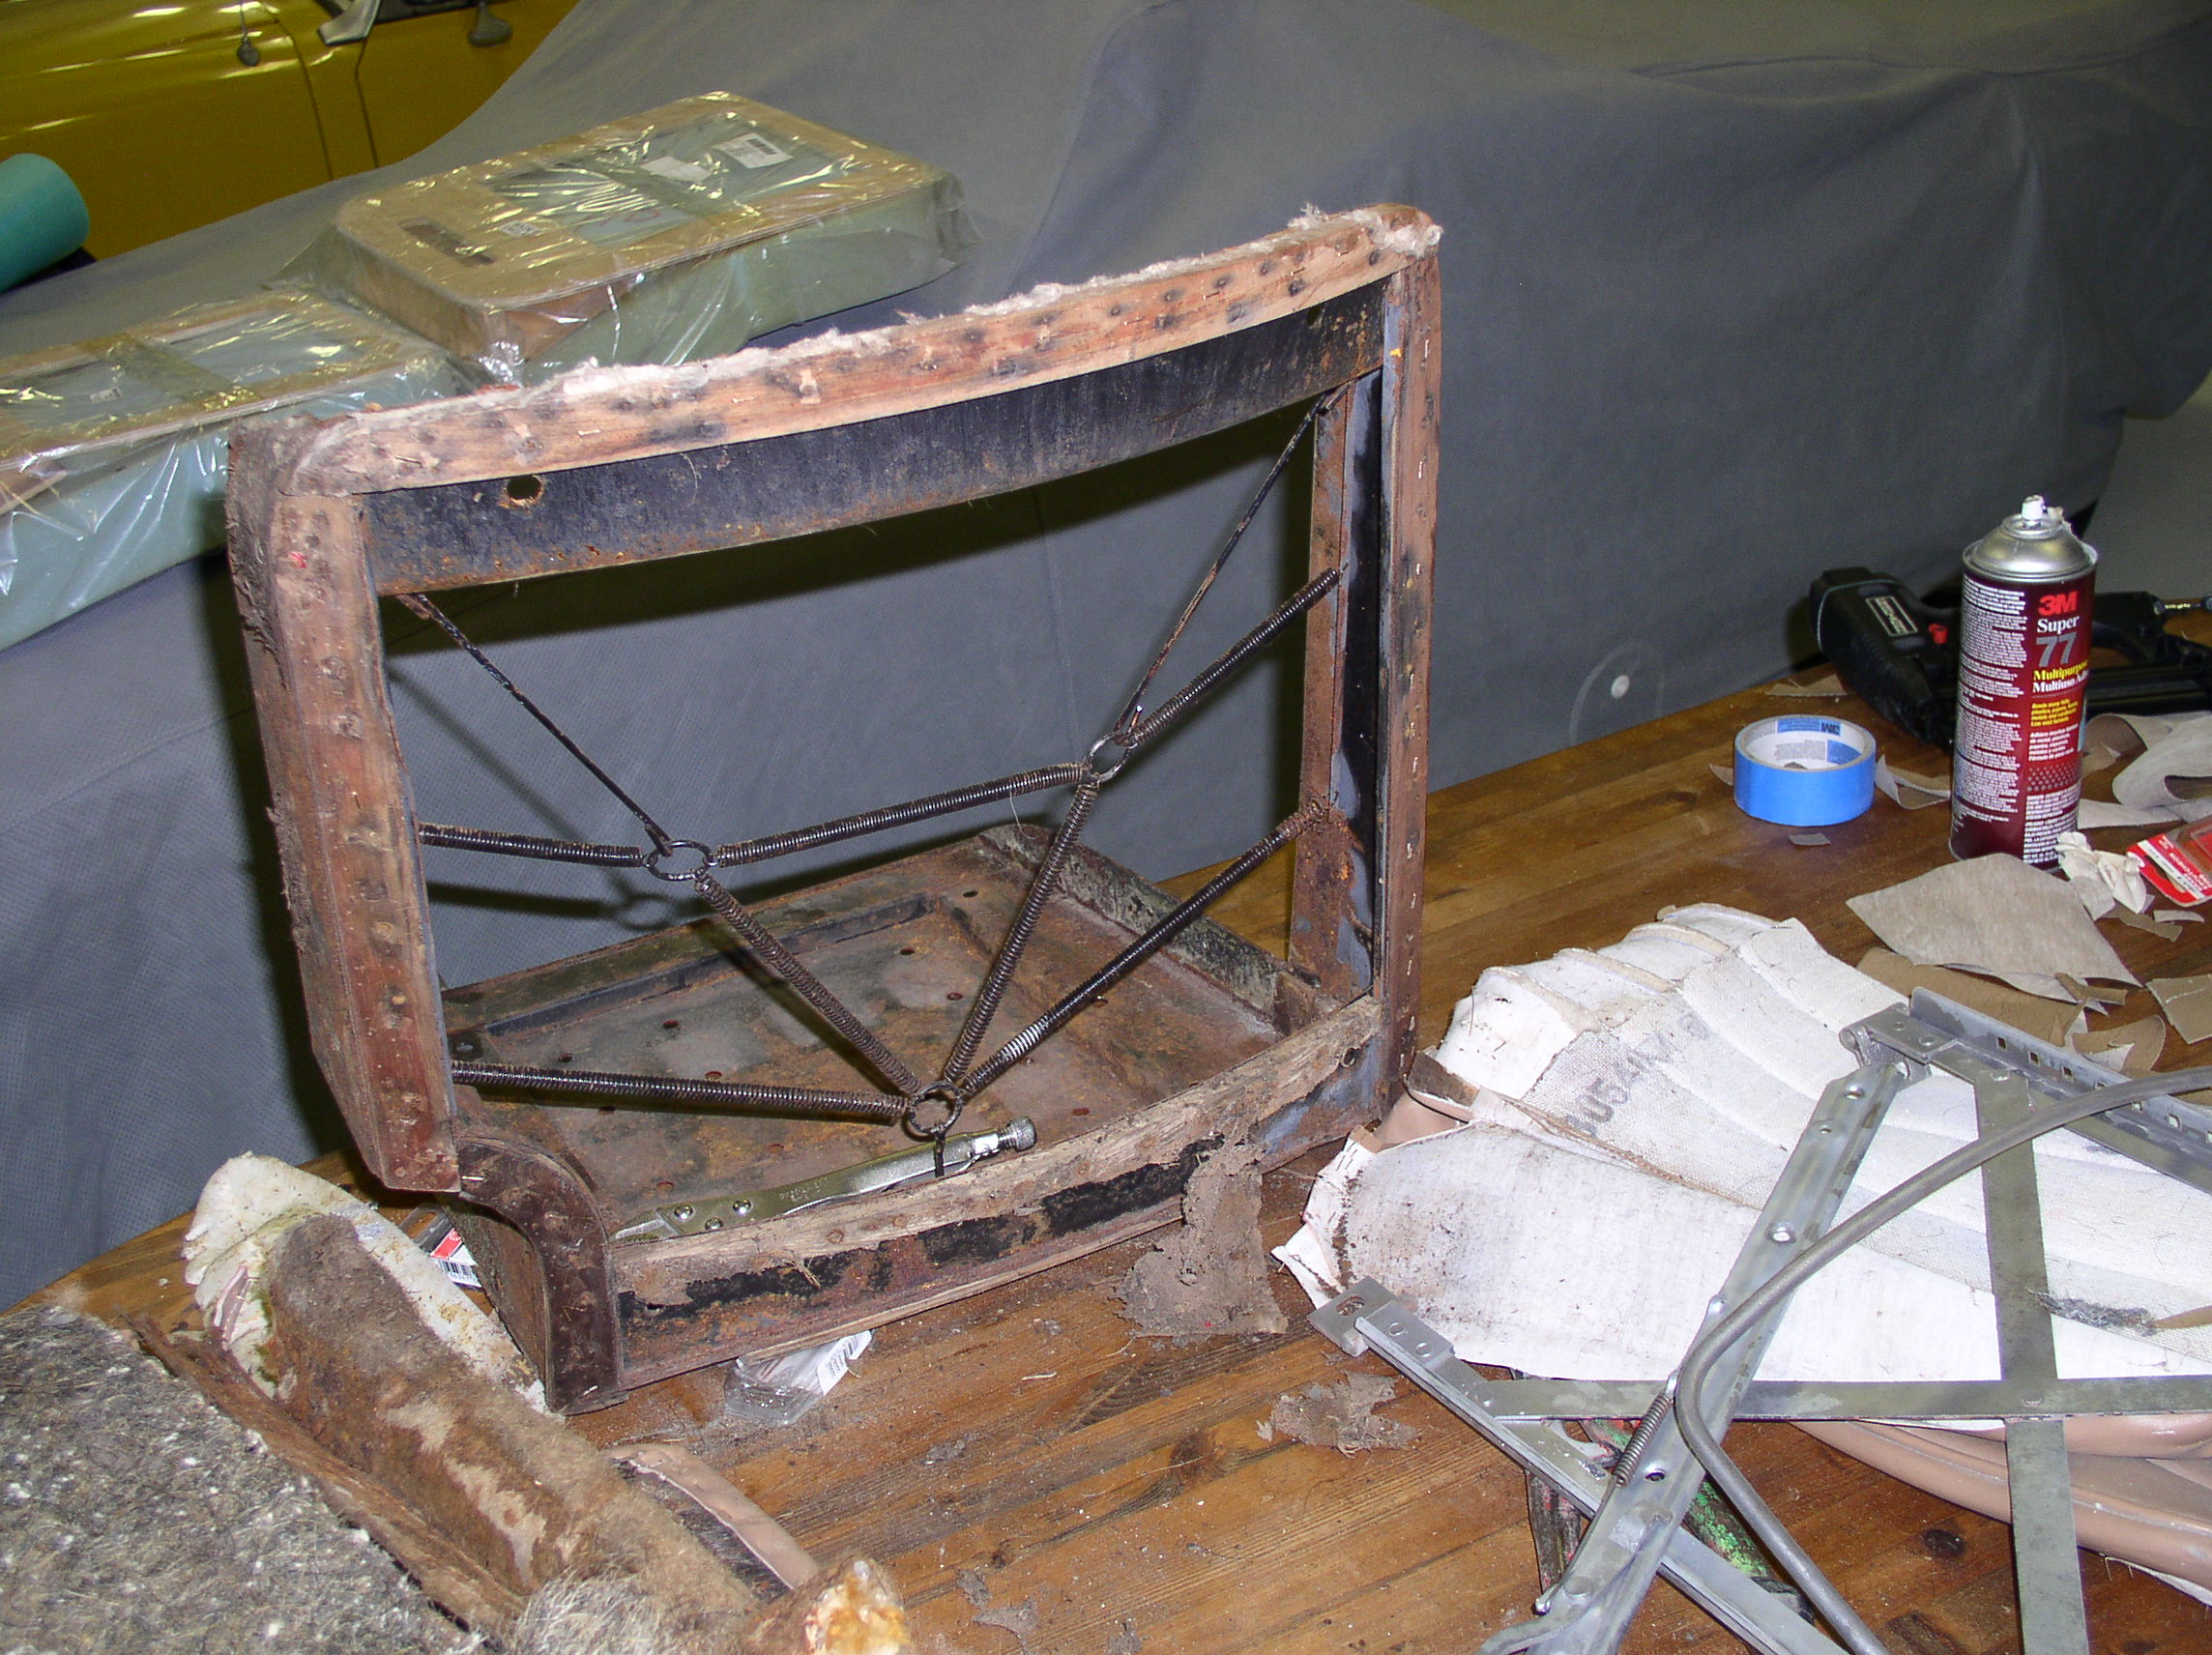
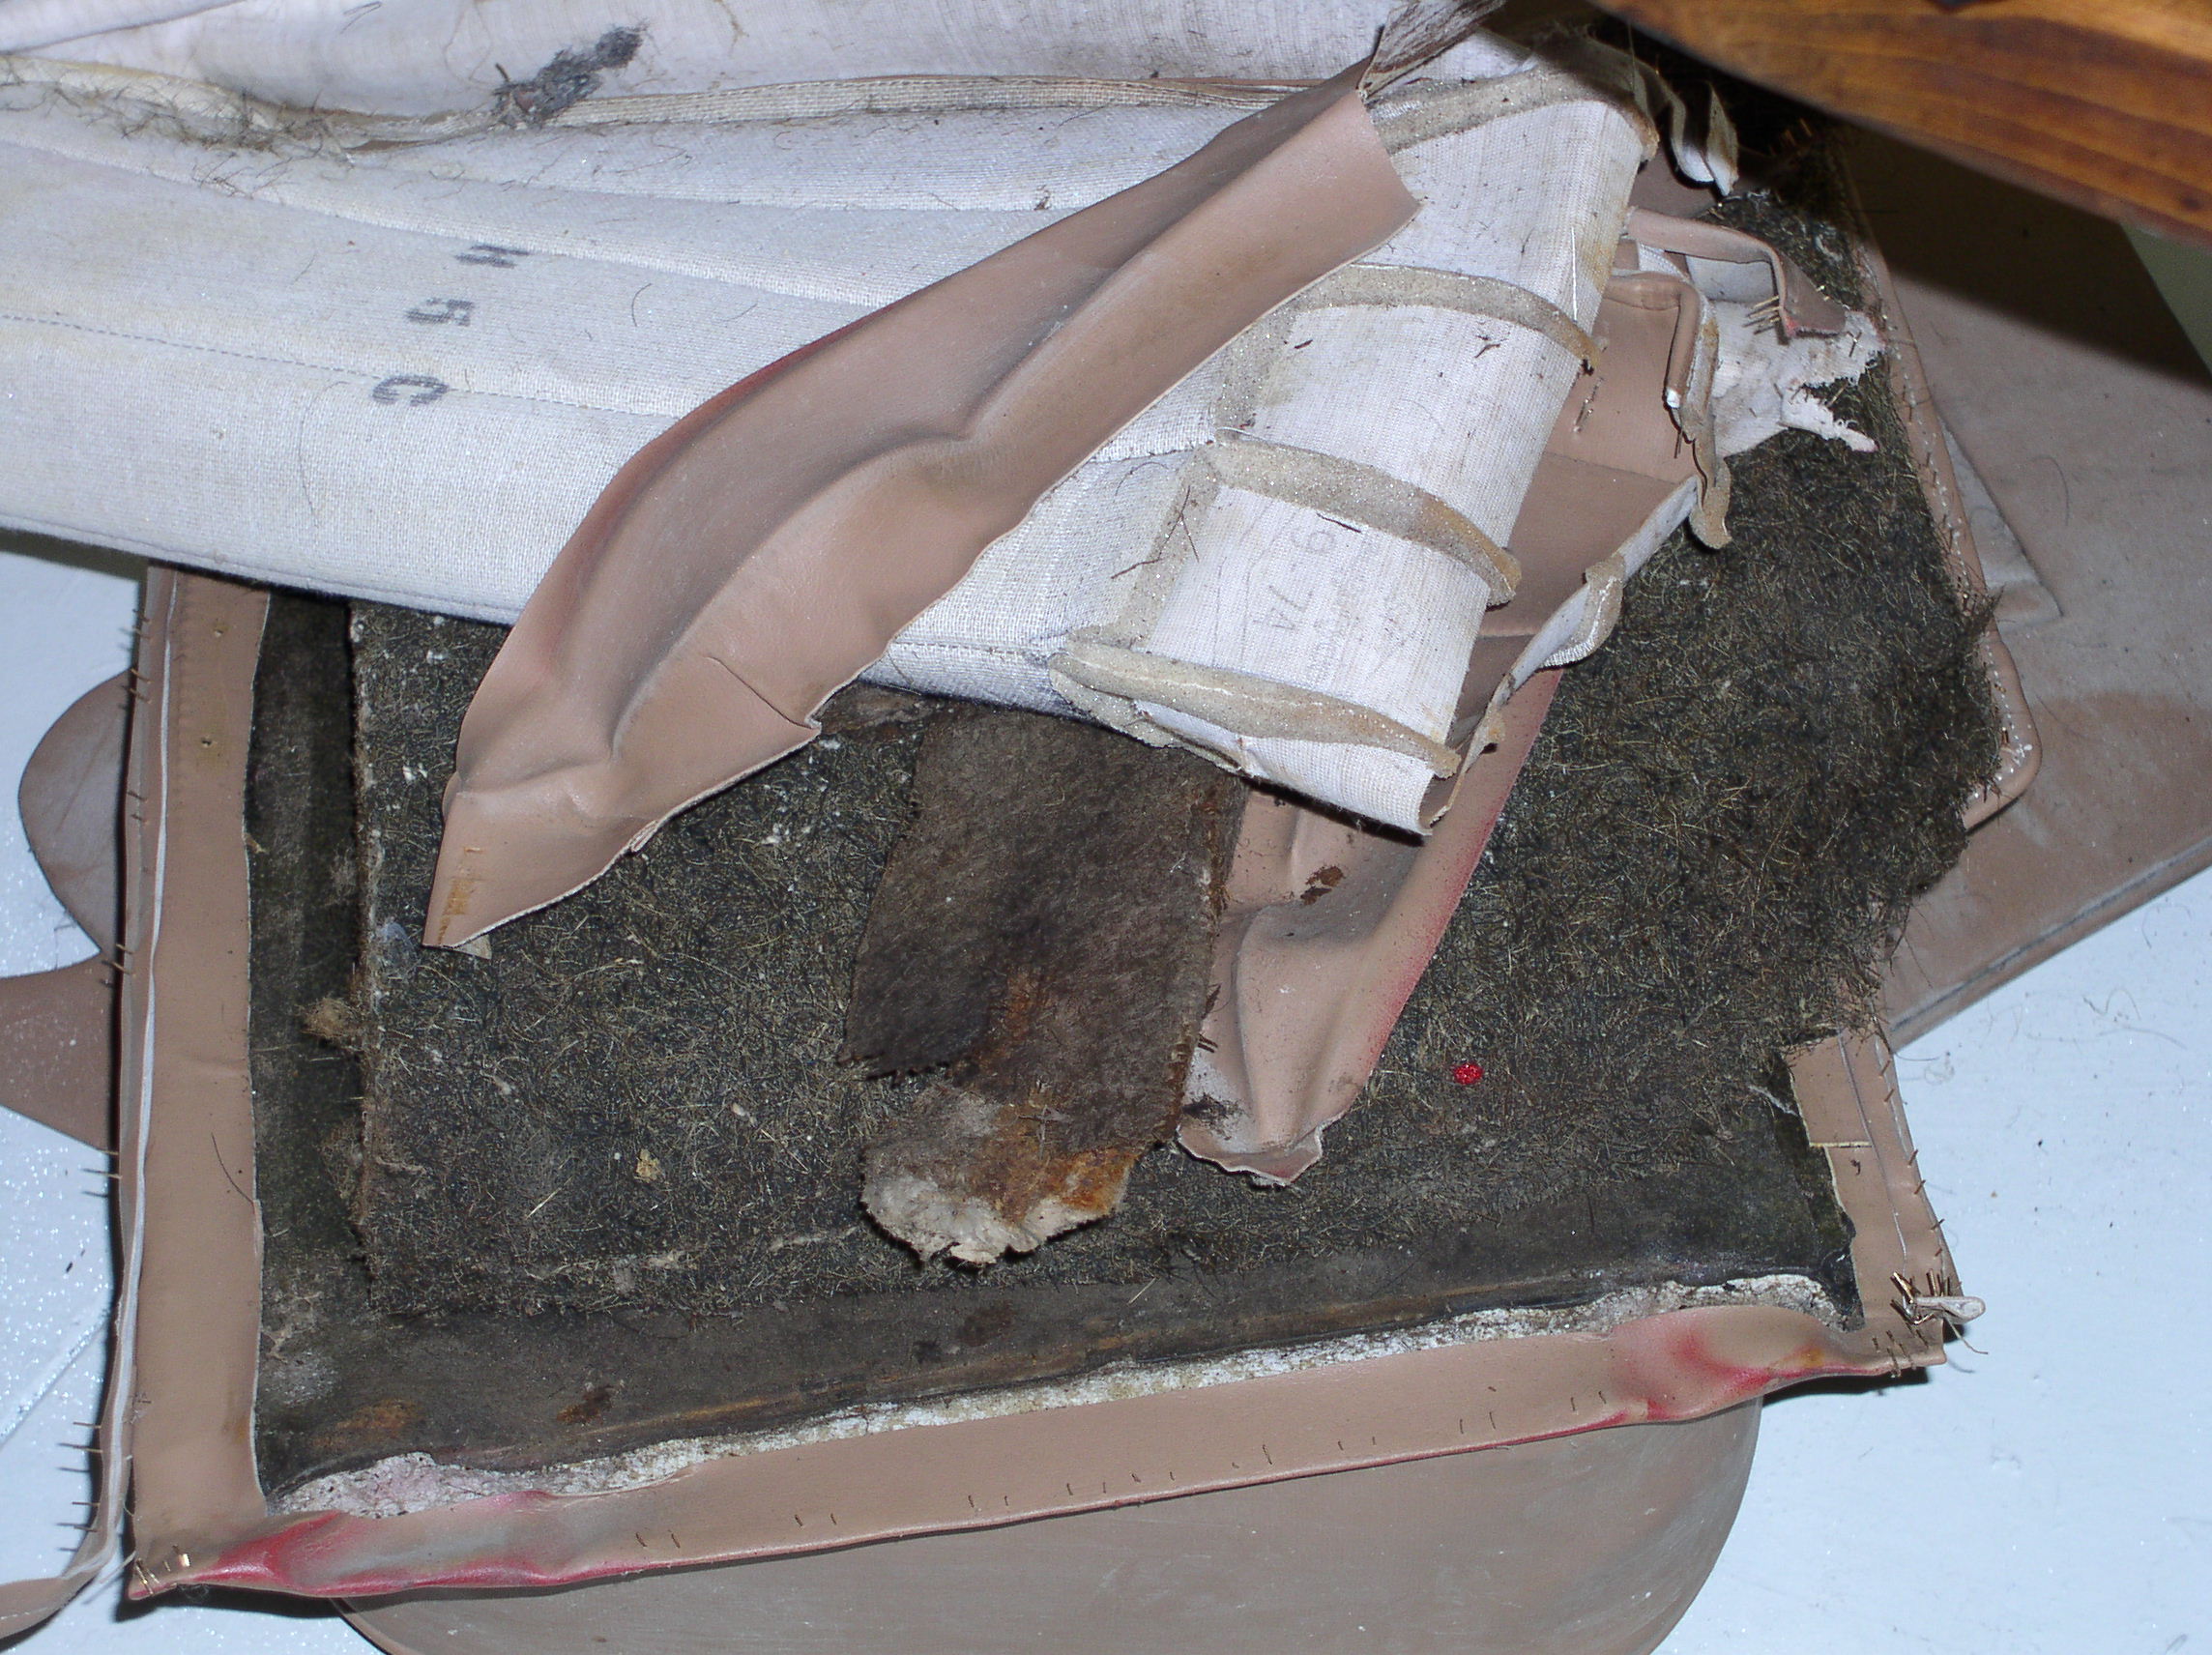
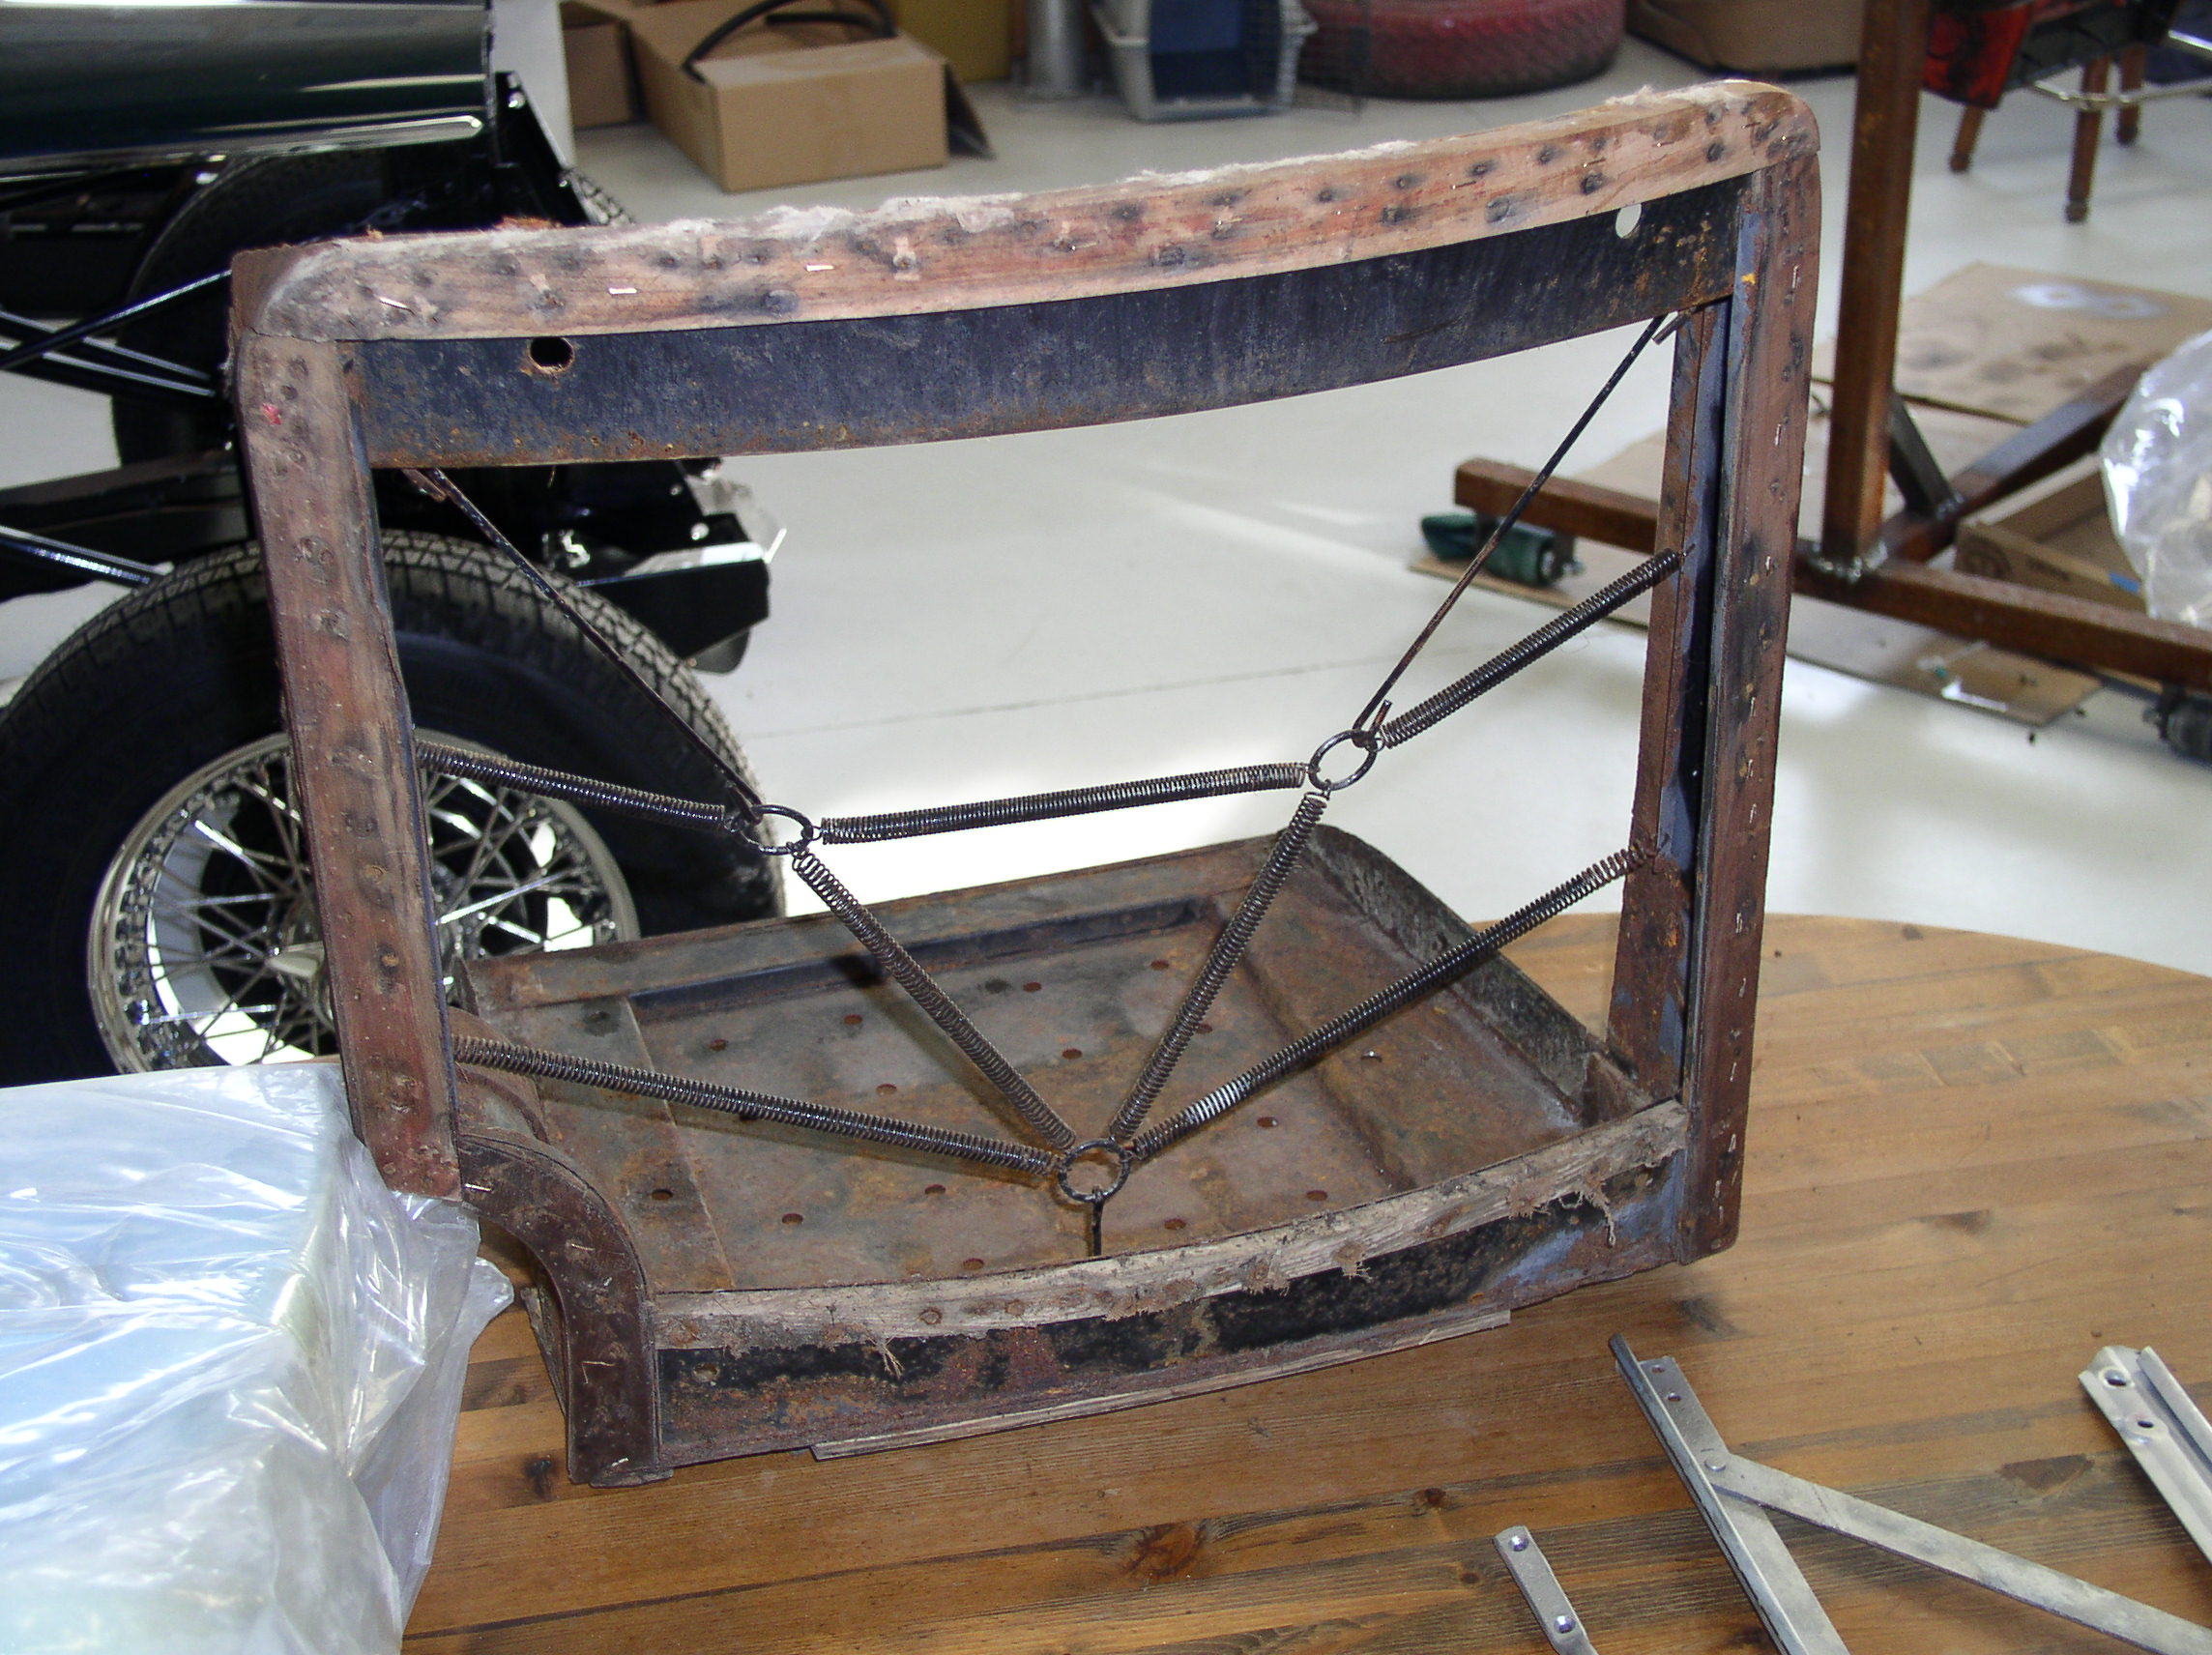
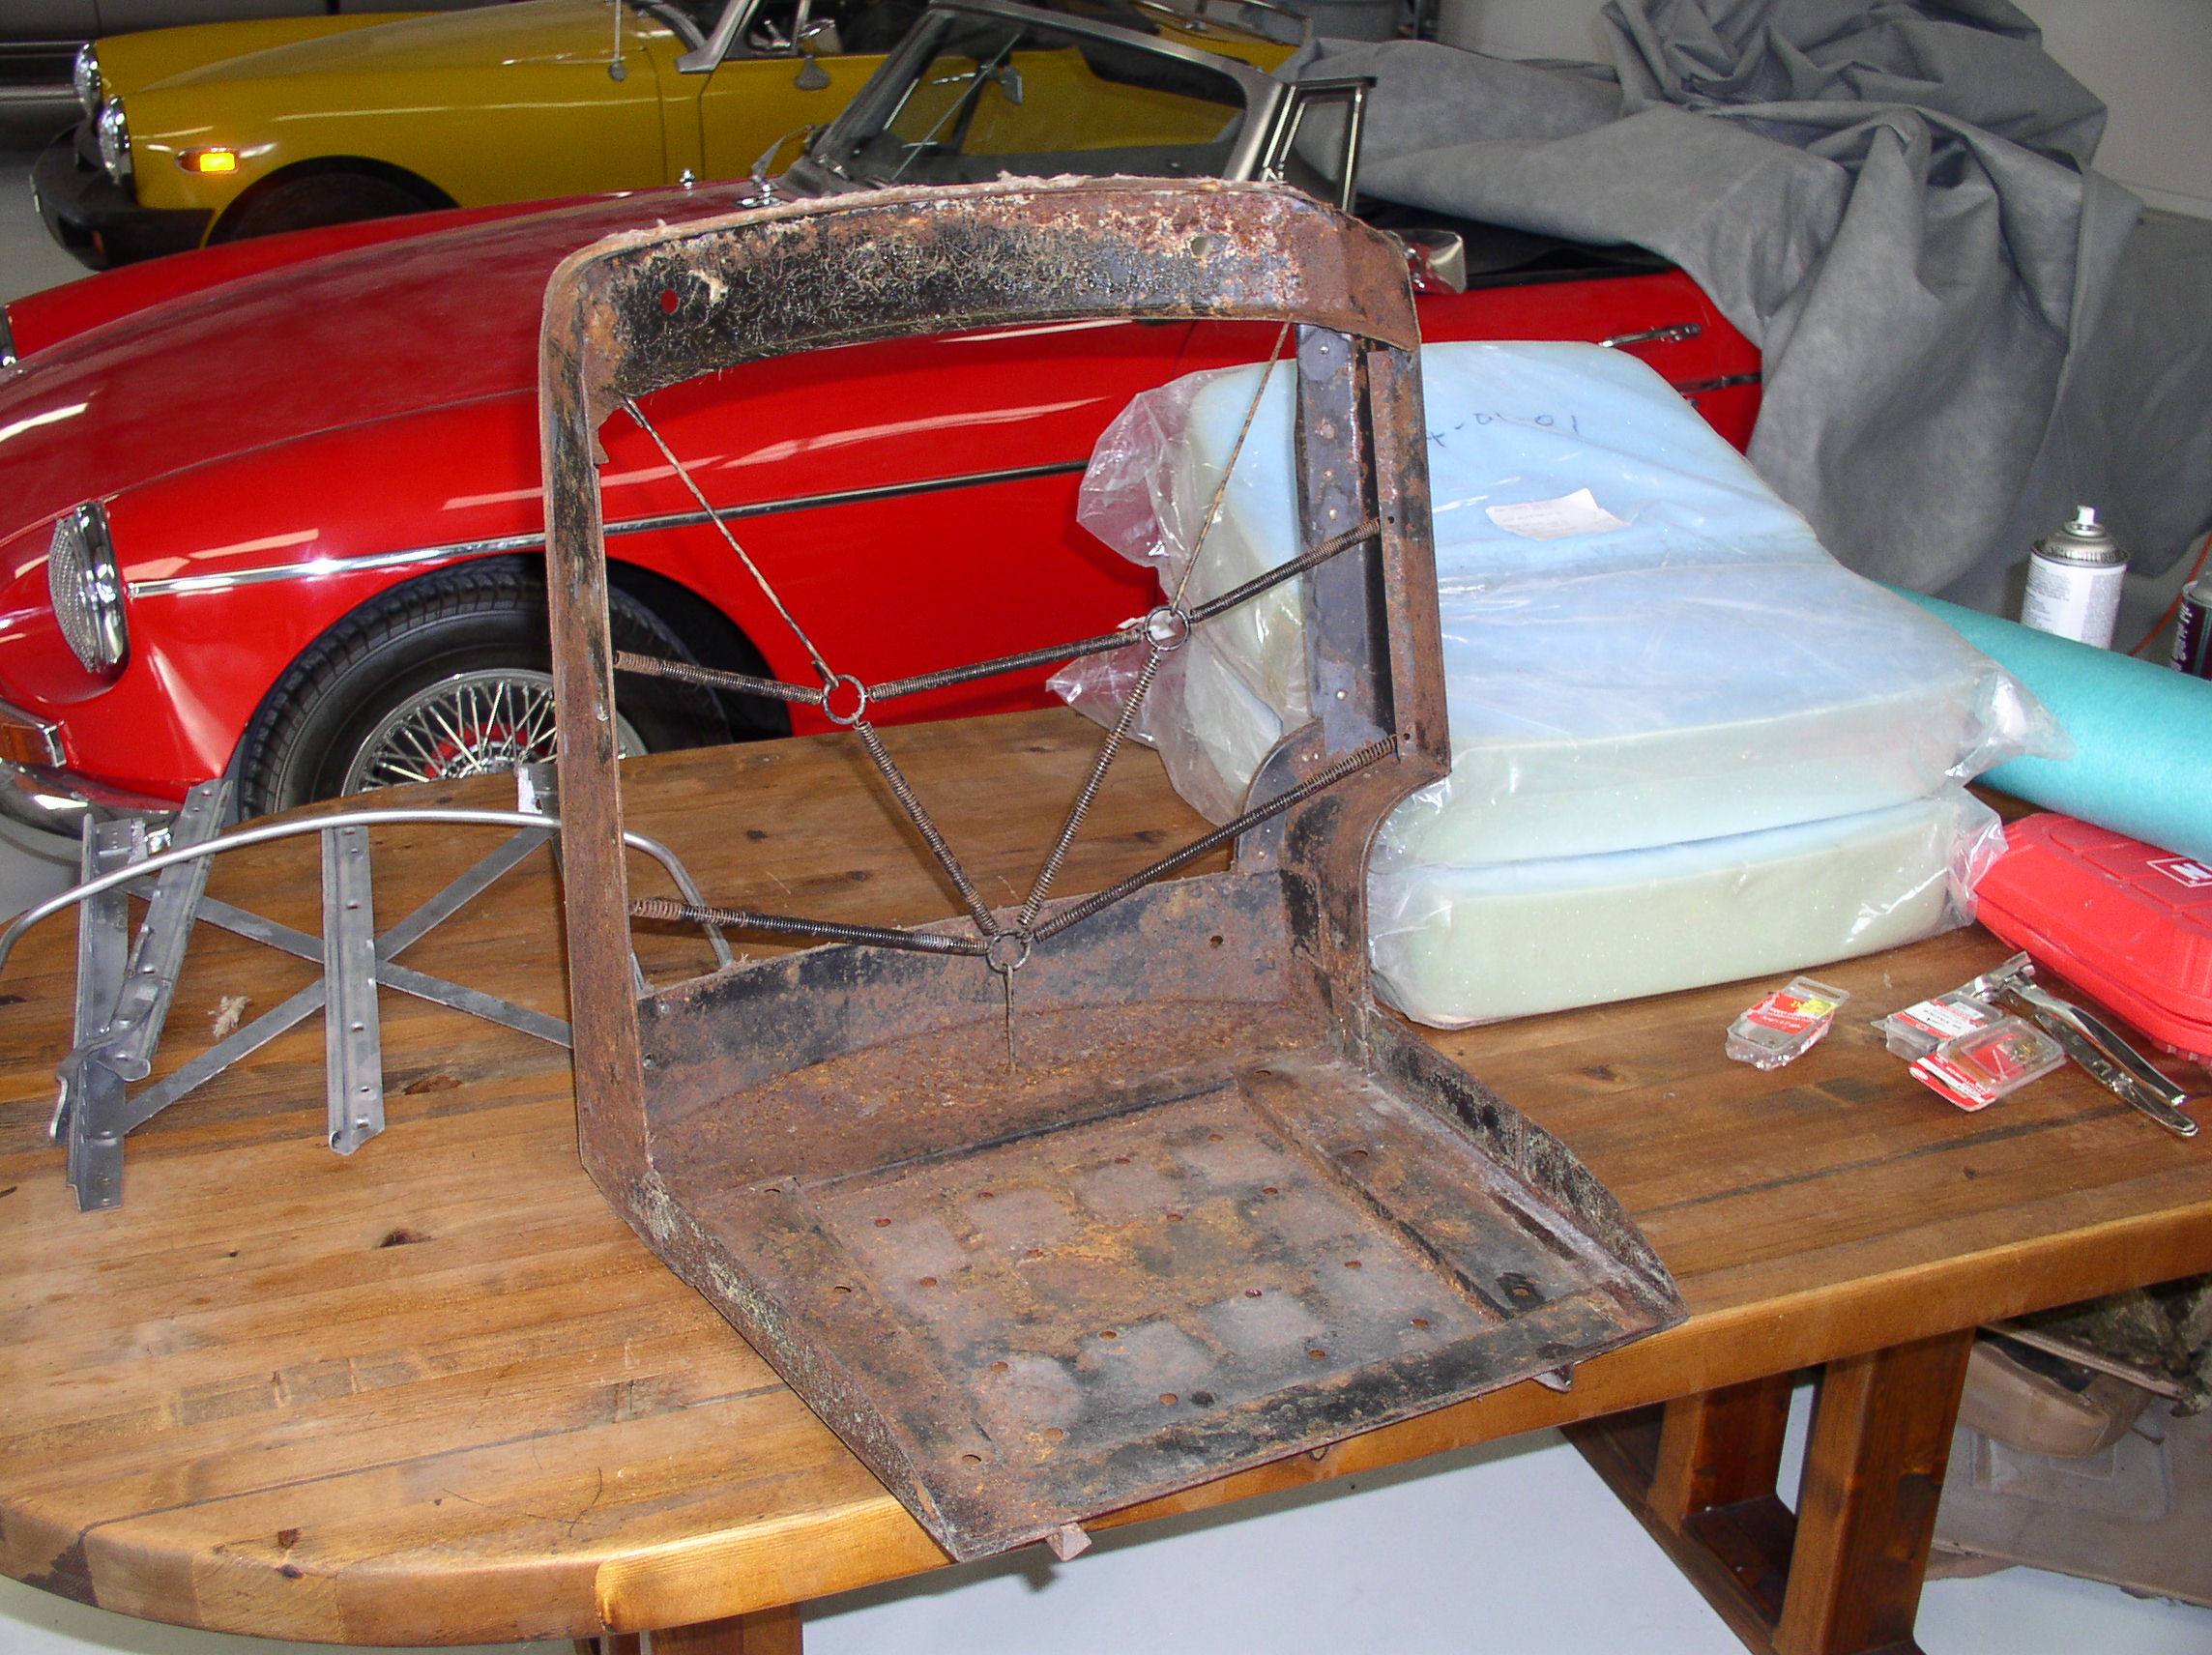
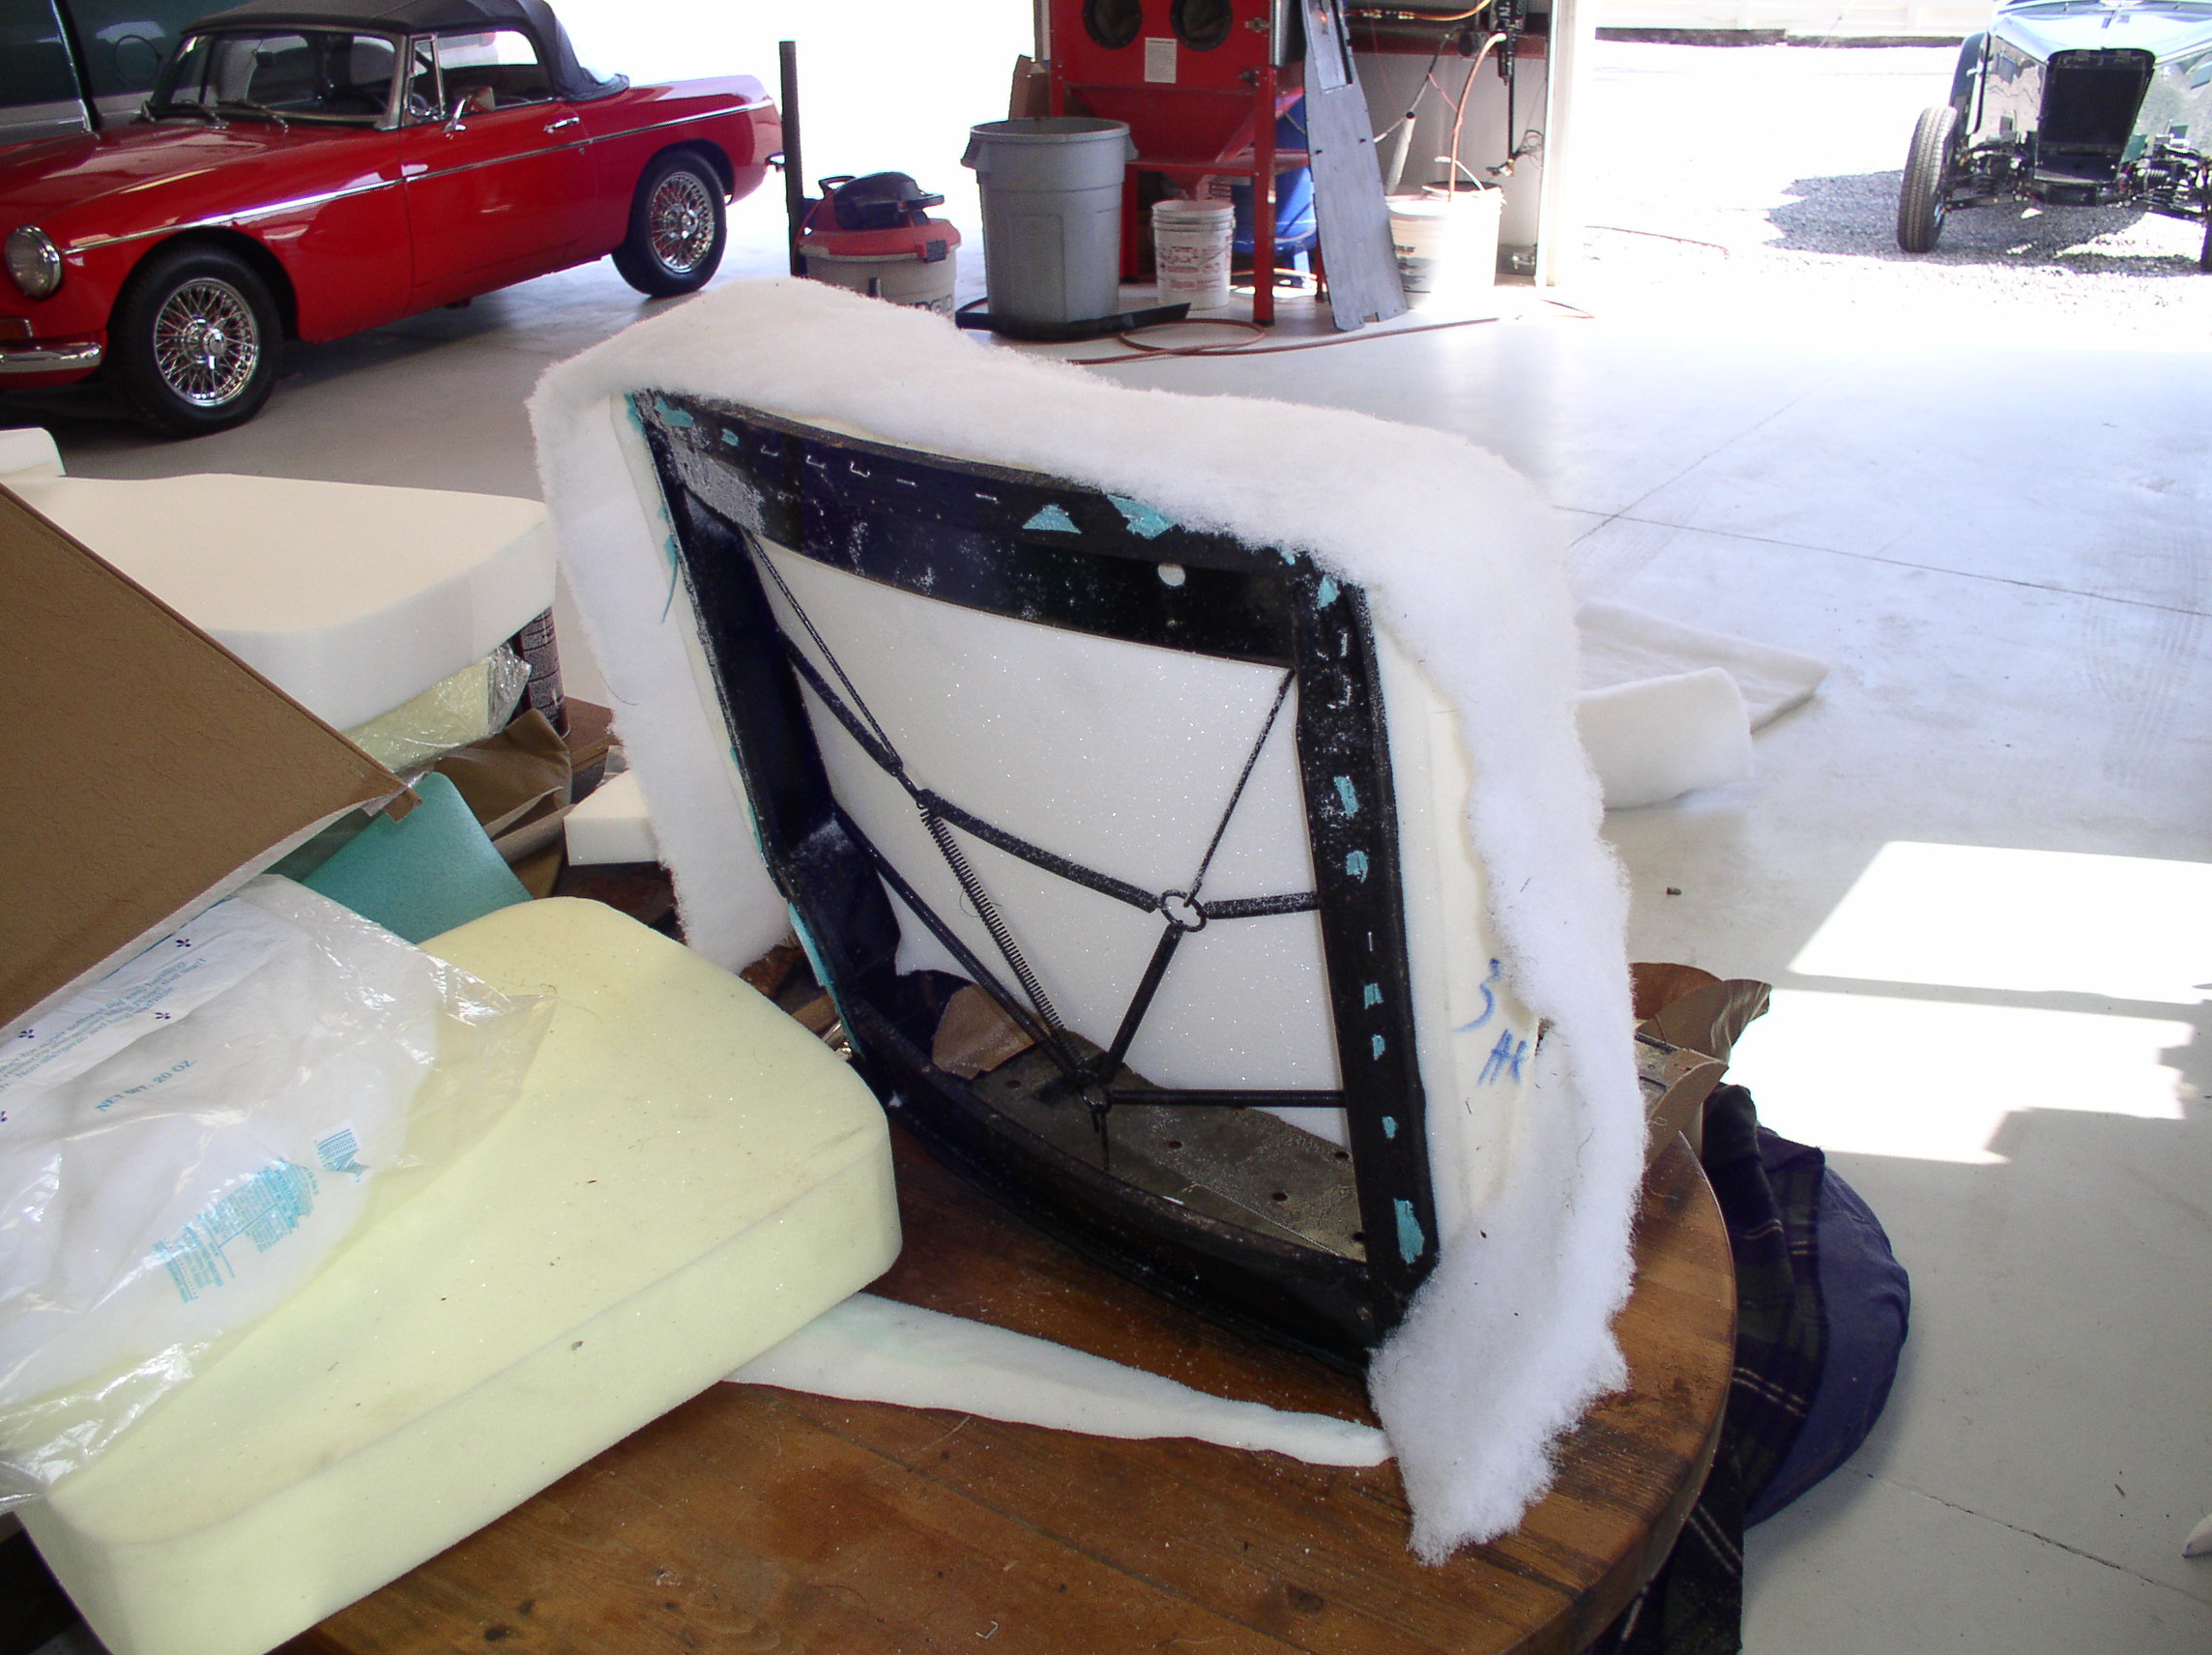
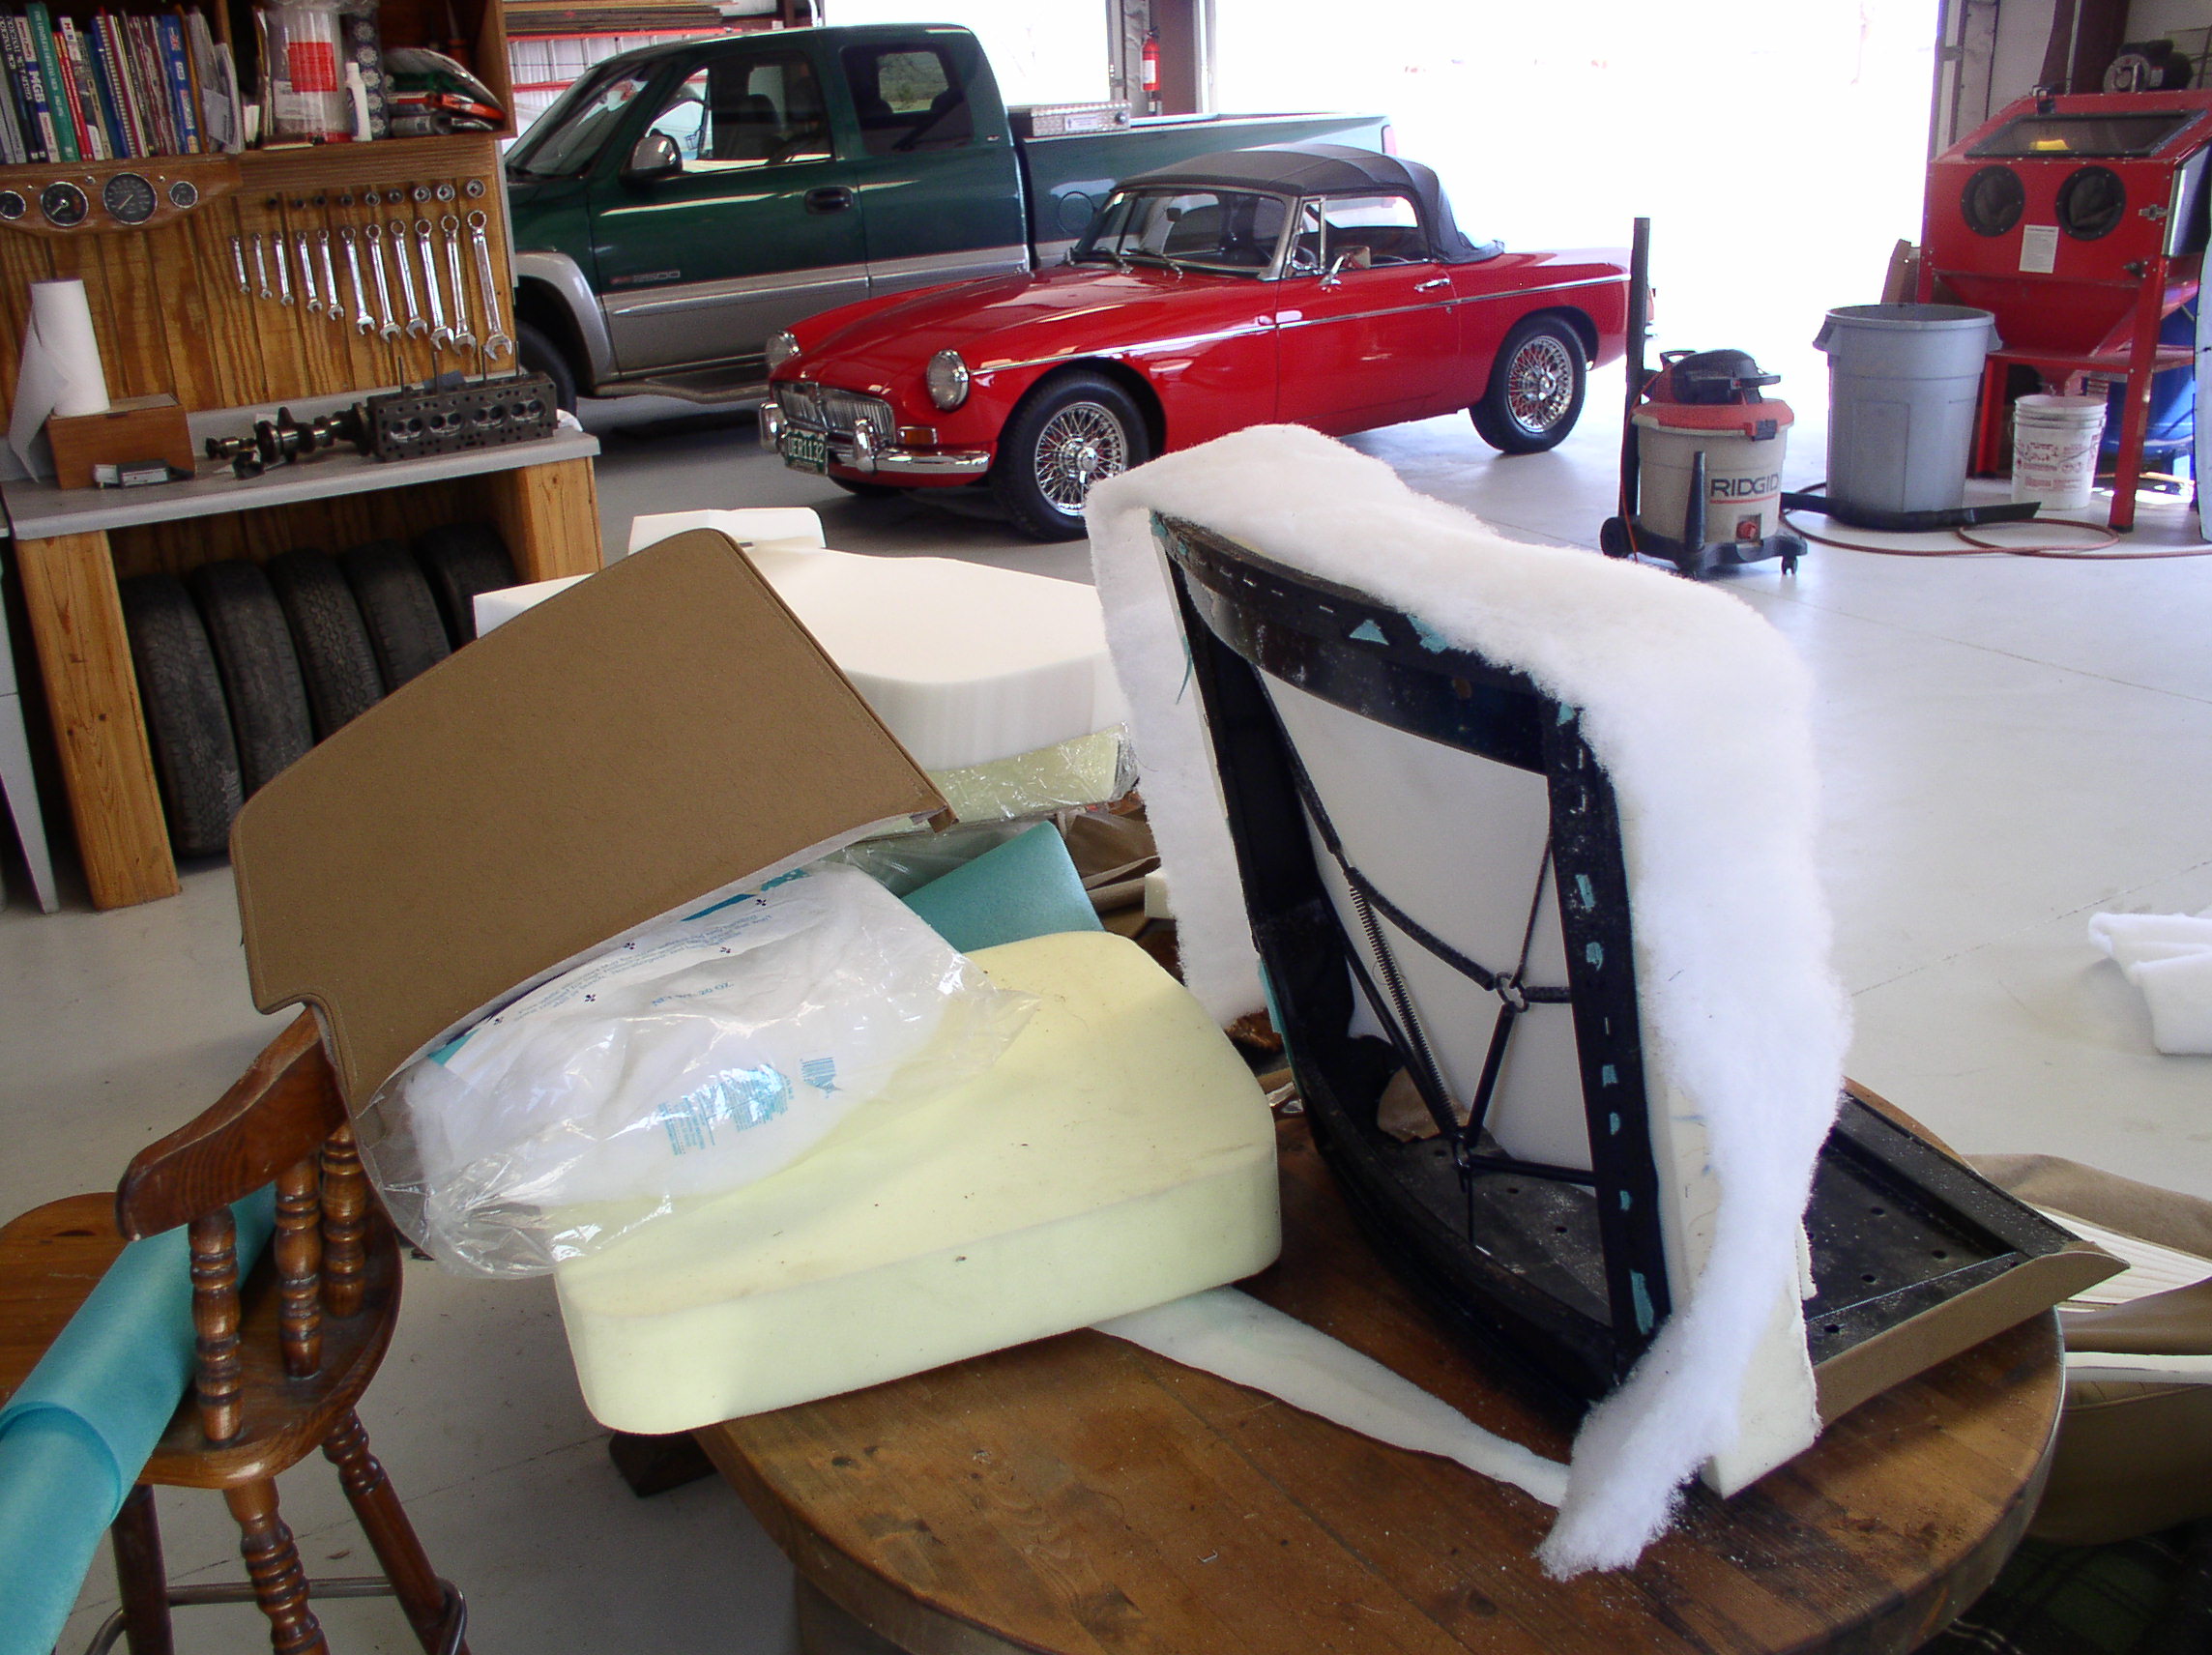
Next group of photos show the seat frame after the removal of the vinyl seat covers and the horsehair matting. There was also some cotton wadding which may or may not have been original to the seats. There was evidence of some of the original seat material which showed that the car was built with a red interior. I was surprised to see that it was indeed a fairly bright red. The seat frames showed evidence of years of corrosion but it wasn't beyond use. Moss suggests that the TF seat kits should be sent to professionals for installations. If you want it perfect that is probably a good idea. If you are going to do it your self then I highly recommend that you only remove the seat covers off one seat at a time. You will then be able to use the still assembled seat for a visual aid. After removing the seat covers I began the cleaning the frames which involved a wire wheel on the 4 1/2" grinder and a lot of elbow grease with a wire brush. Once cleaned up I inspected the springs and the wooden strips which are attached to the seat frames. Both were in good shape so I then gave the assembly a good coating of black paint. The tonneau bars went into the bead blaster along with the seat rails for a cleaning down to bare metal. After the cleaning I sprayed the bars with a light goldish Honda color that I also sprayed on the hood frame. The seat rails I sprayed with some cold galvanizing paint although ideally you would probably want to have them silver anodized.


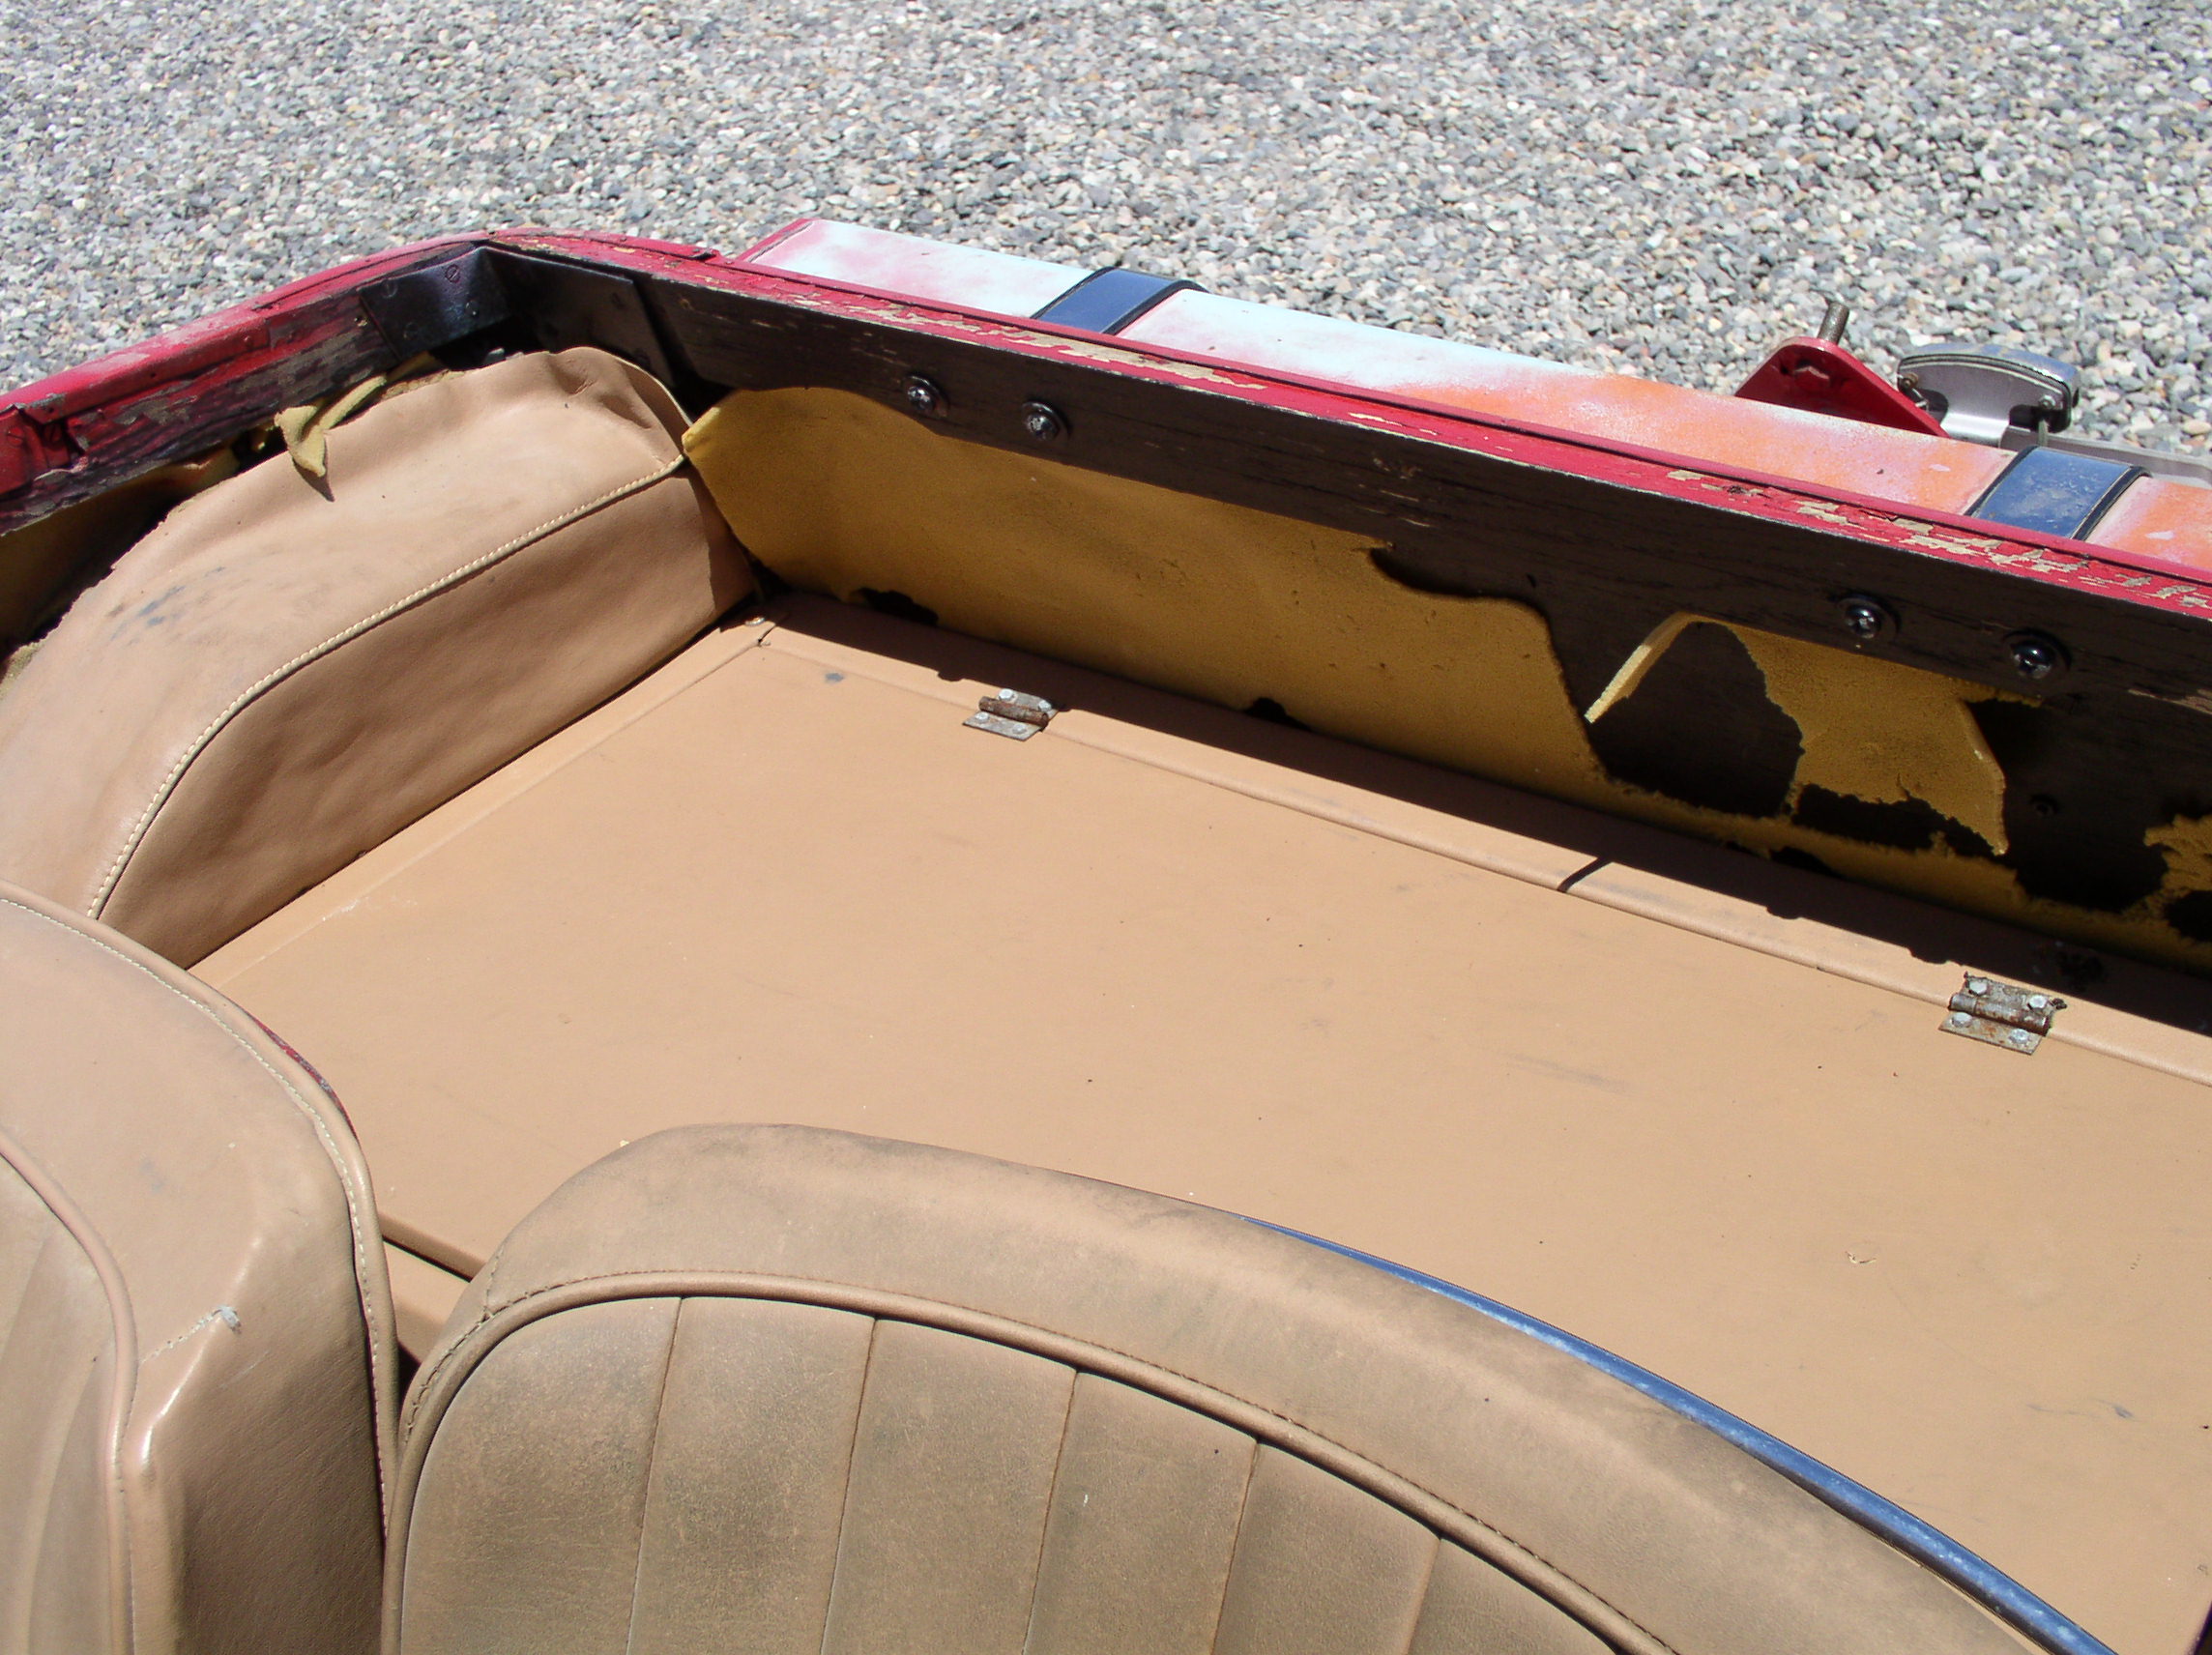
I tackled the seat bottoms first as they would be the easiest. If I were to do this again I would do them last. The reason is that it would have been much easier to line up the stitching with the seat backs. It was pretty straight forward stretching the material over the new bases and stapling the fabric to the base. In retrospect I would Have added some foam rubber to the base between the foam and the wood. The seats when finished now show the line where the foam ends and I believe that the addition of some more foam would have eliminated that. I think you can see what I'm talking about in this picture. The seat bottoms are behind the frame.
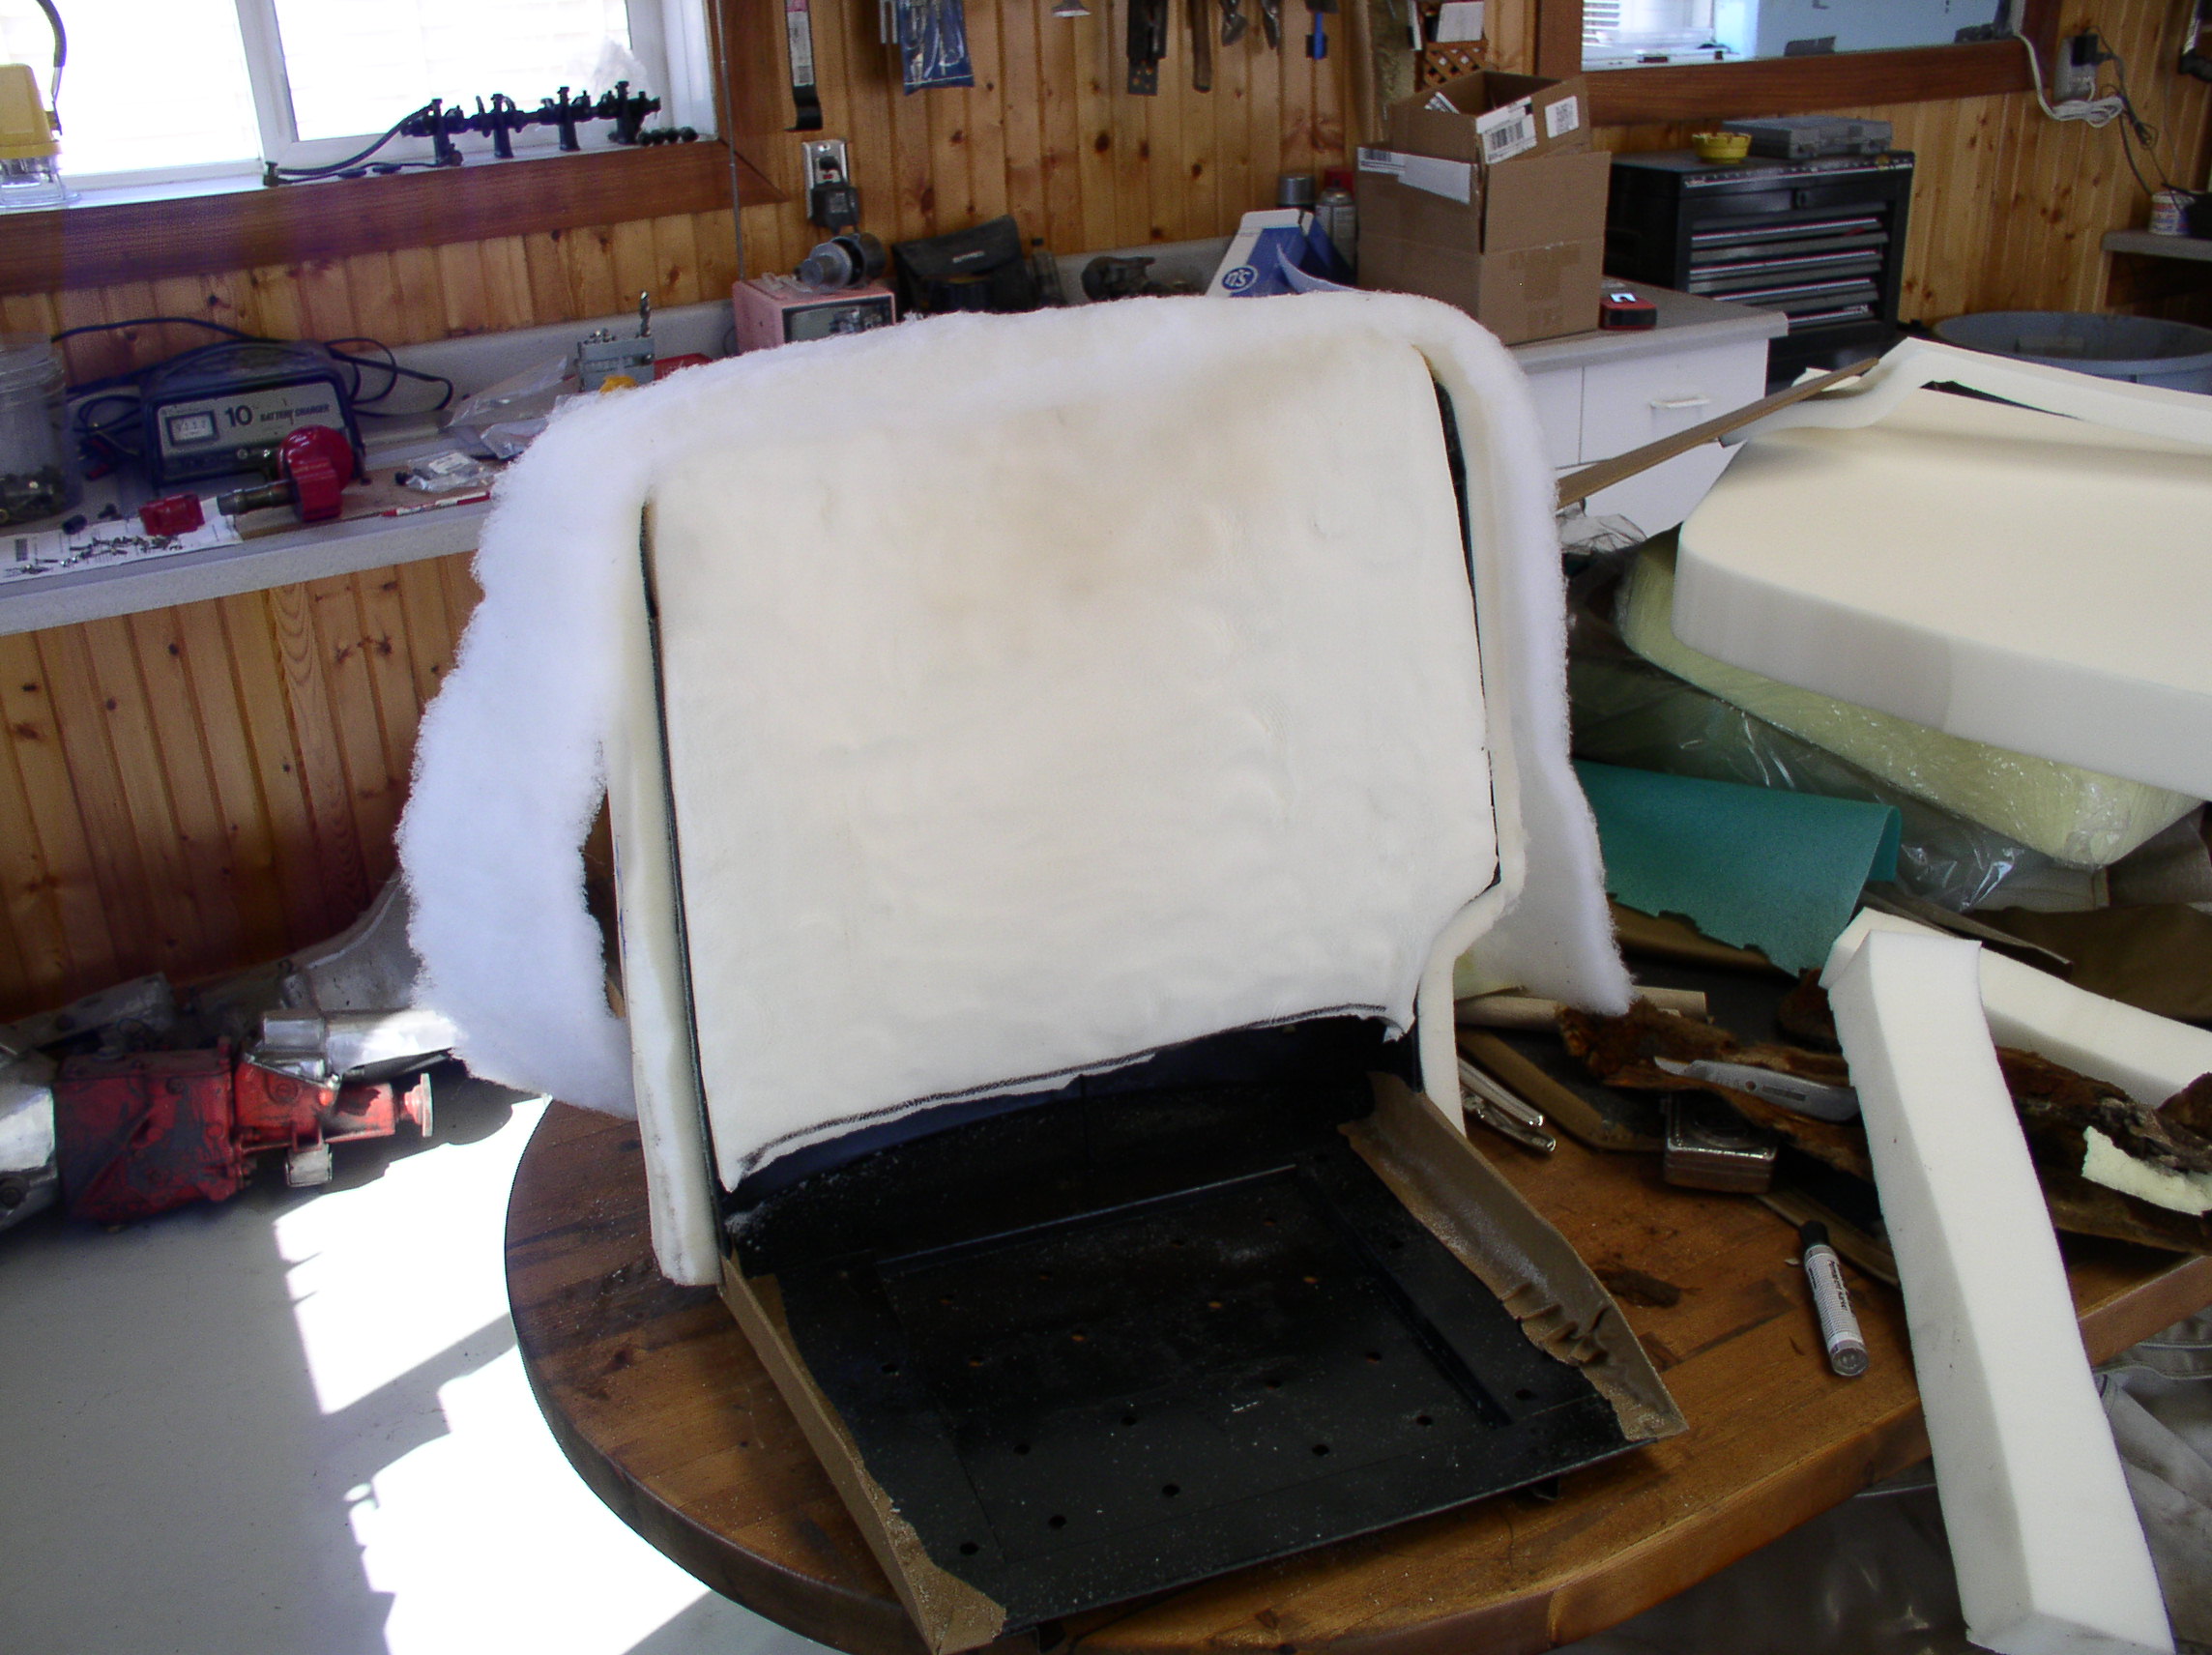
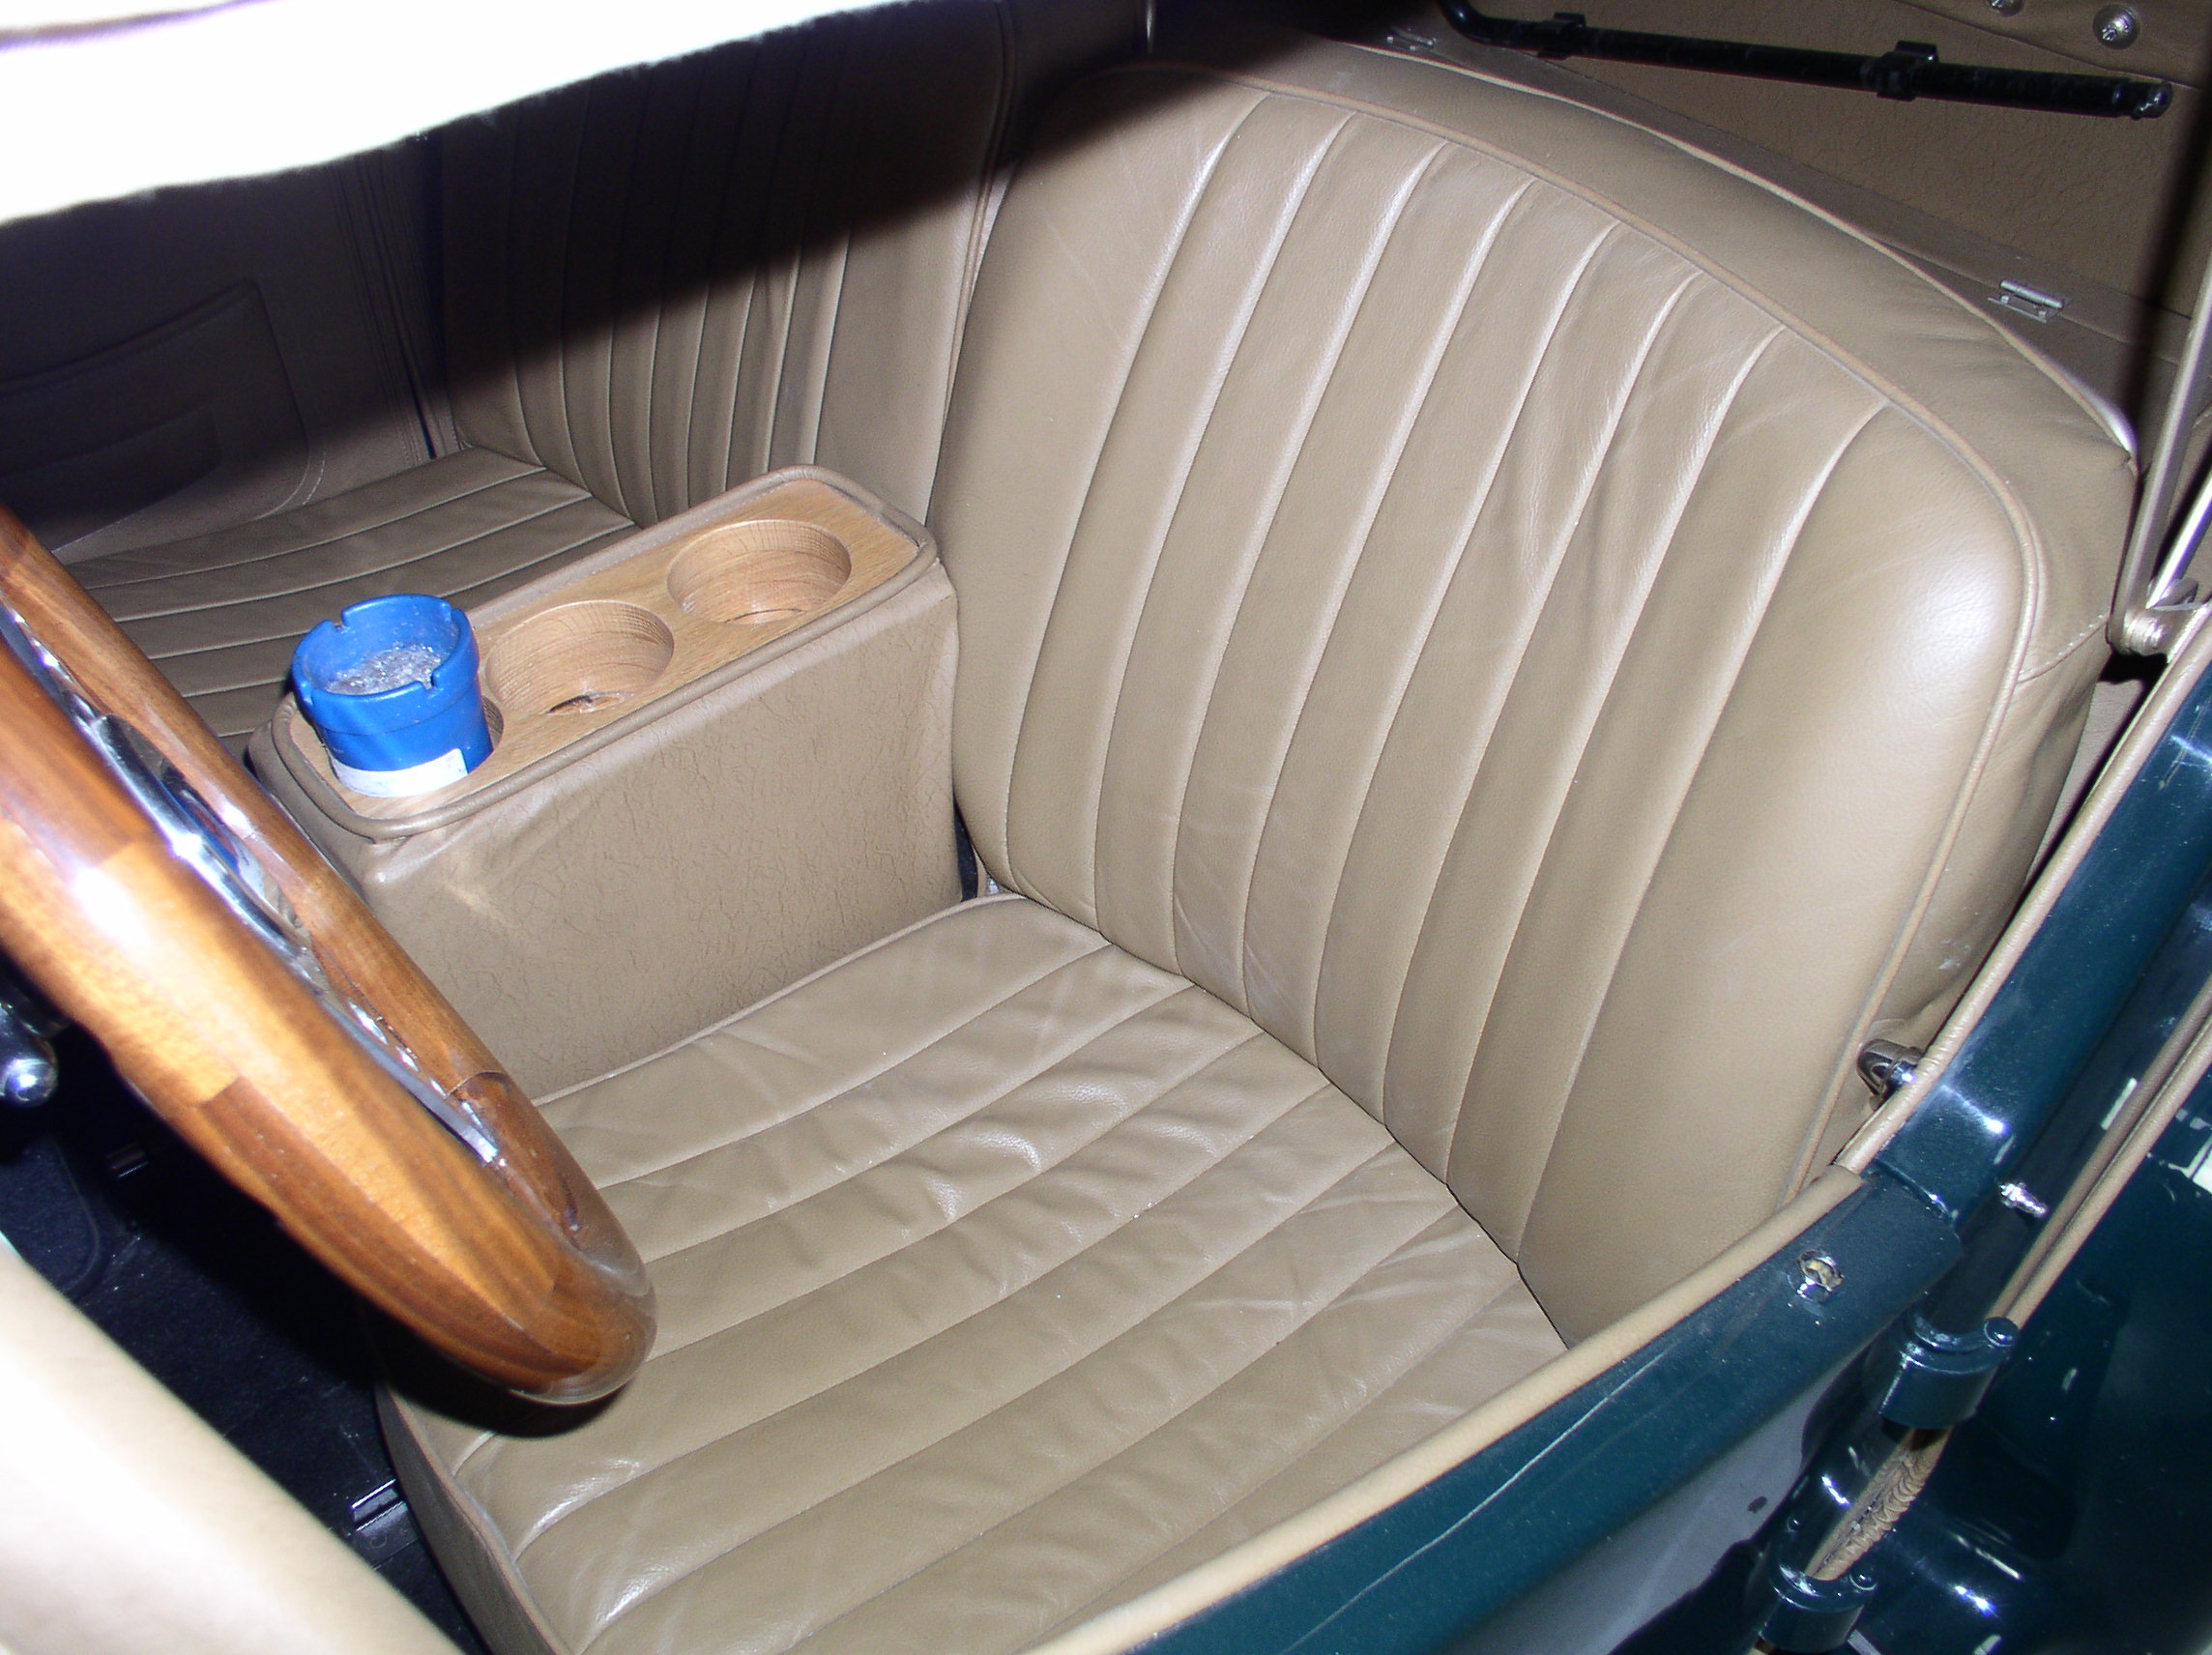
Next I sprayed the frames with the contact cement and the seat back foam and set the foam to the seat frame. Forgot one item on the bill of materials. Several sets of the quick clamps come in very handy at that stage to hold the foam in place. I also placed some of the 1" foam on the sides of the frames as can be seen in the pictures and while it looked very nice I would discover that it was to thick and I would have to remove it. I had to test fit the covers and this process took several days . The foam I had cut for the back was to long and I had to remove material with the carving knife to allow the seat bottom to fit properly. I wound up using the synthetic batting to fill the top and sides of the frame to give a nice padded appearance. The next step was to use the loose vinyl that comes in the kit to cover the seat frame bottoms using the contact cement. Remember why I said to keep one together for reference. After assembling the seat bottom to the frame you can the attach the seat back to the frame. I'm not sure what they used at the factory but I don't think you could find tacks short enough for the job. This is where the Sears staple gun came in. With the needle point nose and the short "u" staples I was able to get the back attached to the frame without the staples being to noticeable. You can the attach the tonneau bars to the seat back and they will be ready to go back in your TF. I do have some "puckers of the leather on the corners of the seat backs you can see here.If it were a professional job I wouldn't have been happy. But as a do it your self job I'm ok with it.

The finished product after three years.


*************************************************
For further information, contact LaVerne by clicking HERE.

email to:Bud@Ttalk.info
Reinstalled 6/24/11