Ttalk.info
(Click on the images for larger versions)
As a birthday present (don't ask) my dear bride of these many years treated
me to a Pertronix ignition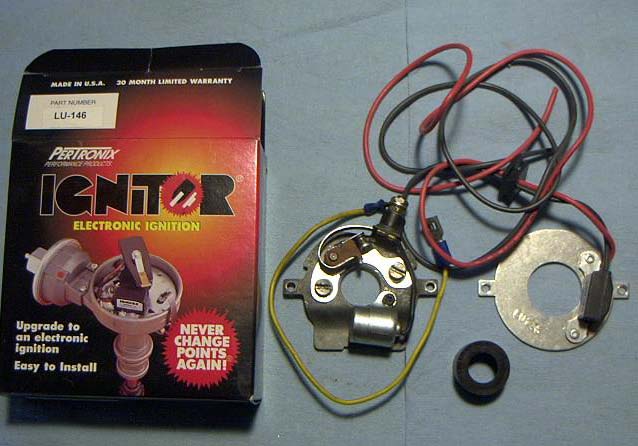 for Lazarus, my 52TD. The installation probably took all of 15 minutes
from start to finish. Could have been quicker, but I captured a few images
along the way. Pertronix says that a four cylinder application
should use a coil whose resistance
for Lazarus, my 52TD. The installation probably took all of 15 minutes
from start to finish. Could have been quicker, but I captured a few images
along the way. Pertronix says that a four cylinder application
should use a coil whose resistance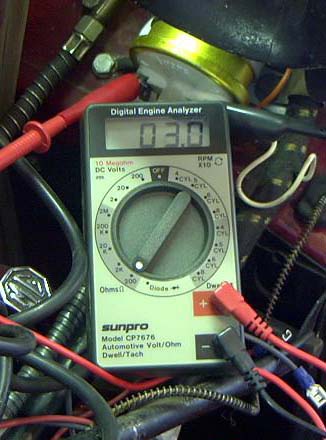 is about 3 ohms. My Lucas Sports Coil is. Before undoing the old
system I checked to assure myself that the static timing was right at TDC.
Then, as instructed,
is about 3 ohms. My Lucas Sports Coil is. Before undoing the old
system I checked to assure myself that the static timing was right at TDC.
Then, as instructed, 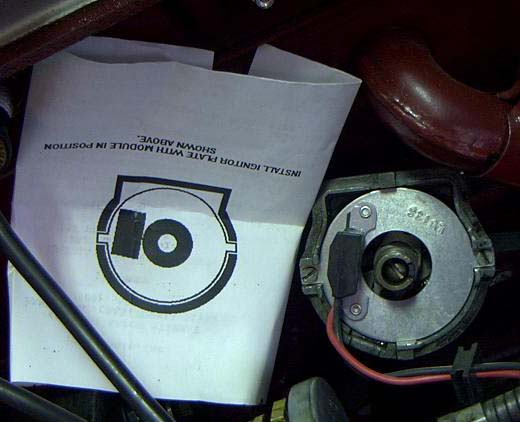 I removed the points plate
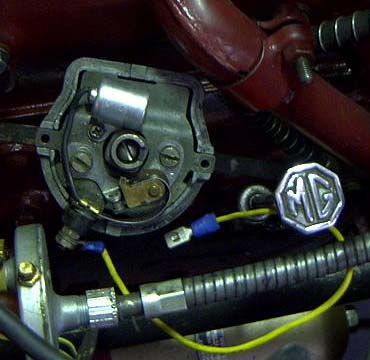 and installed the Pertronix plate
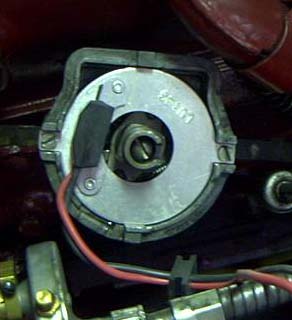 in its place. I then slipped on the magnet collar
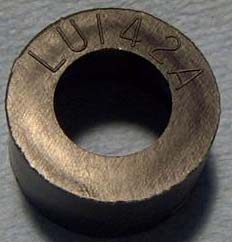 . (Looks like
this inside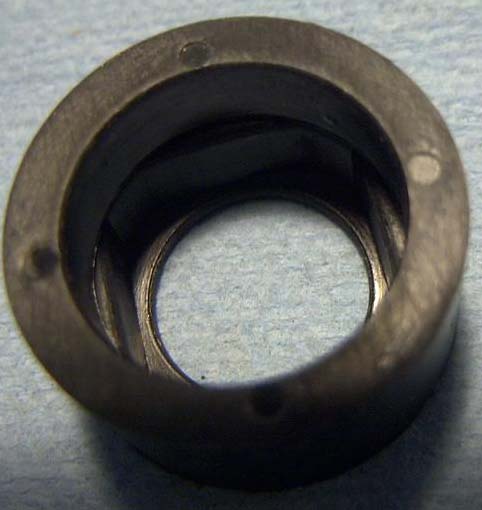 to fit over the cam.) It's ready to go
 . Next step was to put the
cap back on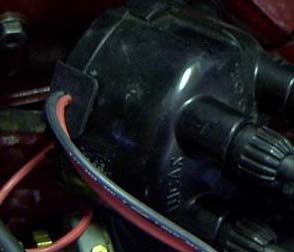 (after remembering to reinstall the rotor). Crimped on the two
connectors
(after remembering to reinstall the rotor). Crimped on the two
connectors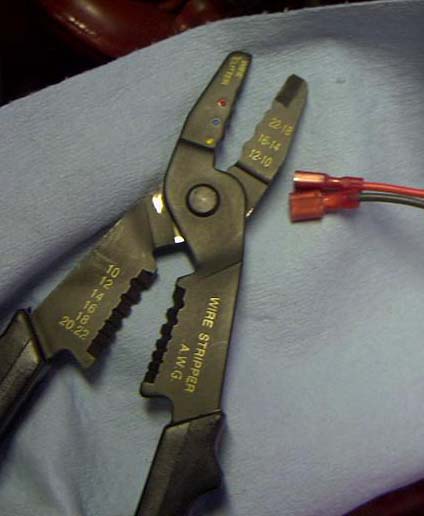 , hooked them across the coil
 , WATCH THE POLARITY!!!!!turned
on the ignition and pulled the starter. Vrooom. Fired up after less
than half a turn of the engine.
, WATCH THE POLARITY!!!!!turned
on the ignition and pulled the starter. Vrooom. Fired up after less
than half a turn of the engine.
I then shut it off and rechecked the static timing. It was advanced by
about 8 degrees. I hooked up my light bulb, loosened the distributor clamp
and reset the static timing to TDC just the same way as with points, i.e.,
turned the crank until the pulley pointer was aligned at TDC, rotated the
distributor CCW until the lamp went out, rotated it back CW until the lamp just
came on, tightened it down. Simple as can be. (But next time I'll try to
remember to take the crank out before I fire it back up.)
BTW, I then dug out my adjustable timing light and tweaked the advance for 30
degrees at 3000 rpm.
More about the static timing can be seen
here.
NOTE: Hooking the red and black
Pertronix leads across the coil terminals does not imply that the Pertronix unit
operates across the coil. It's merely a convenient location for the red
lead to be connected to a source of 12 volts controlled by the ignition switch
(as seen by the white wire coming from the cable harness).
What if it doesn't work? According to the folks at Pertronix (Marvin Grebow, Jr., Technical Department) the biggest cause of not working is due to poorly grounded baseplates. The Pertronix unit is a 3-wire system, red is input power, black is the switched output line, and ground (earth) is provided through the baseplate. Pertronix has given me permission to copy their Module Test onto this page. It's an Adobe Acrobat file named Module_Test.pdf. Their phone number is 1-800-827-3758.
The negative ground module test can also be seen at
PerNegGrndTest.htm
I've been told that it may be necessary to dig out a knife and carefully
whittle out some of the material from the inside of the magnetic cap in order to
get it to seat fully onto the distributor cam.

email to:Bud@ttalk.info
last edited March 6, 2005